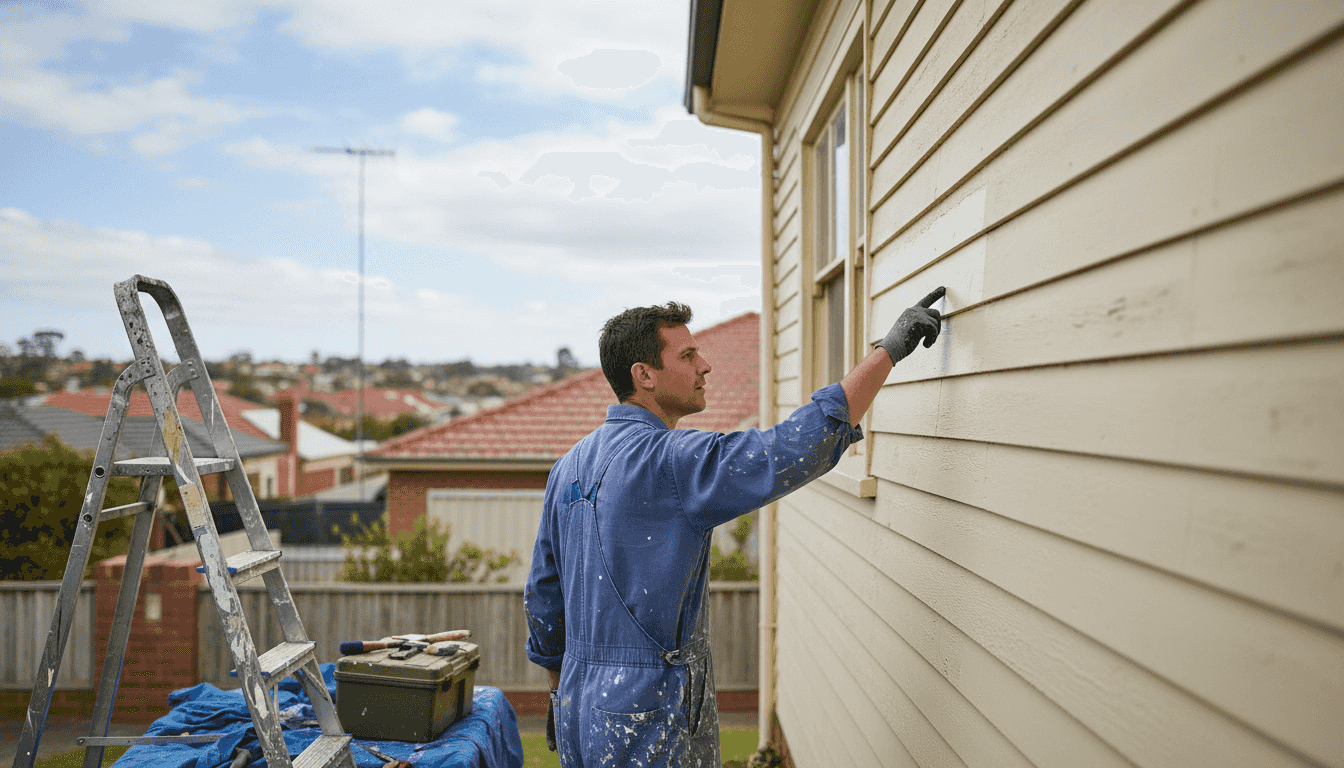
Noticing cracked or faded paint on your Melbourne home can quickly cause worry about long-term damage and loss of curb appeal. Fresh, well-maintained paint is more than cosmetic—it acts as a barrier against weather and everyday wear while protecting your investment. This guide explains the essentials of consistent paint maintenance, covering the right timing, preparation, and safe practices that safeguard your property value and keep your home looking impressive year-round.
Table of Contents
- Paint Maintenance Basics For Homeowners
- Types Of Paint And Their Upkeep Needs
- Building A Regular Paint Care Routine
- Weatherproofing And Seasonal Protection Strategies
- Expert Fixes For Common Paint Issues
Key Takeaways
| Point | Details |
|---|---|
| Timing Matters | The best time to paint is during dry periods in spring or autumn to ensure proper curing. |
| Surface Preparation is Crucial | Proper cleaning and repair of surfaces account for 80% of a successful paint job. |
| Ventilation is Essential | Keep windows open for 2-3 days post-painting to disperse fumes and enhance curing. |
| Regular Maintenance Saves Money | Implement a paint care routine with quarterly inspections to catch issues early and extend lifespan. |
Paint maintenance basics for homeowners
Paint maintenance isn’t complicated, but getting the fundamentals right prevents costly repairs and keeps your Melbourne home looking its best. Understanding when to paint, how to prepare surfaces, and what safety steps matter will extend your paint’s lifespan and protect your property’s value.
Timing your paint project matters more than most homeowners realise. The best time to paint is during dry periods like spring or autumn when temperatures remain moderate and humidity stays low. These conditions allow paint to cure properly and reduce drying times, resulting in a smoother, more durable finish.
Ventilation plays a critical role in both paint safety and quality outcomes. After painting, keep windows open for 2 to 3 days to allow fumes to disperse and paint to cure fully. This practice reduces your family’s exposure to volatile organic compounds and prevents moisture from becoming trapped under the paint film.
Choosing the right paint type for your space makes a real difference. For interior spaces, water-based (latex) paints are the preferred choice because they emit fewer harmful chemicals than oil-based alternatives. They’re also easier to clean up and dry faster, though both types have their place depending on the application.
Preparation and Surface Readiness
Before any paint touches your walls or timber, proper surface preparation determines whether your paint job lasts five years or fifteen. Neglecting this step is where most DIY projects fail.
Key preparation steps include:
- Clean all surfaces thoroughly to remove dust, dirt, and mildew
- Fill cracks and holes with appropriate fillers
- Sand rough areas smooth for better paint adhesion
- Repair any water damage or rotting timber before painting
- Prime bare wood or previously unpainted surfaces
Proper surface preparation accounts for 80% of paint job success. Rushing this stage guarantees disappointment.
For homes built before 1978, lead-safe work practices become essential when disturbing old paint layers. Lead paint poses serious health risks, particularly for children and pregnant women. Testing for lead presence should be your first step if your Melbourne home was built in an earlier era.
Safety Considerations for Older Homes
If your property contains lead-based paint, following specific protocols protects your family during maintenance work. Set up a containment area to prevent dust spread, use proper protective equipment, and minimise dust by using wet methods rather than sanding.
Clean meticulously after any work involving potentially lead-contaminated materials. Dispose of paint waste according to local Melbourne council guidelines—never pour paint down drains or into gardens.
For interior painting projects, these fundamentals ensure a successful outcome that looks professional and lasts. Professional painters follow these same principles, which is why their results outperform DIY attempts in longevity and appearance.
Pro tip: Test your paint’s quality by applying it to a small, inconspicuous area first—this reveals how it covers, dries, and adheres to your specific surfaces before committing to the entire project.
Types of paint and their upkeep needs
Not all paints are created equal, and choosing the wrong type for your space leads to premature peeling, fading, and costly repainting. Melbourne’s variable climate demands paint formulations specifically suited to your walls’ environment and expected wear.
Paint divides into two main categories: interior and exterior formulations. Each addresses different durability challenges and requires distinct maintenance approaches. Understanding these differences helps you select paint that protects your investment and stays looking fresh for years.
Interior Paint Finishes
Interior paints come in four primary finishes, each with distinct cleaning and maintenance requirements. Your choice affects how easily you can clean walls and how visible imperfections become.
Common interior finishes include:
- Matte: Absorbs light, hides imperfections, but shows fingerprints and resists cleaning
- Eggshell: Subtle sheen, moderate stain resistance, good balance for living areas
- Satin: Noticeable sheen, excellent stain resistance, easier to clean than matte
- Semi-gloss: High sheen, most durable, easiest to clean, shows every imperfection clearly
Glossier finishes clean easily but demand perfection in wall preparation—matte finishes forgive surface flaws.
Matte and eggshell work well in bedrooms and living areas where traffic stays light. Kitchens and bathrooms benefit from satin or semi-gloss because moisture and staining are constant threats. Higher-shine finishes reflect light and reveal every dust particle, so they’re best reserved for areas you’ll clean frequently.
Here’s a quick reference comparing common interior paint finishes and their ideal uses:
| Finish Type | Room Suitability | Cleaning Difficulty | Imperfection Visibility |
|---|---|---|---|
| Matte | Bedrooms, lounge | Most difficult to clean | Least visible |
| Eggshell | Living, dining | Moderate effort needed | Minor flaws hidden |
| Satin | Kitchen, bathroom | Easy to wipe clean | Some flaws visible |
| Semi-gloss | Kitchens, trims | Easiest to maintain | Every mark obvious |
Exterior Paint and Weather Protection
Exterior paints contain weather-resistant compounds that interior formulations lack. These additives protect against UV damage, moisture penetration, and temperature fluctuations that crack and peel standard interior paint within months.
Exterior maintenance varies by climate exposure. North-facing walls experience less UV damage but more moisture problems. West-facing surfaces take intense afternoon sun and need paints with superior fade resistance. Your Melbourne home’s orientation influences which paint specifications matter most.
Oil-Based Versus Water-Based Formulations
Oil-based paints cure slowly but create harder, more durable finishes that resist scratching and staining. They emit strong odours and require mineral spirits for cleanup, making them less popular for interior work today.
Water-based paints dry faster, emit fewer fumes, and clean up with soap and water. They’re ideal for exterior painting projects where quick drying prevents weather problems and allows multiple coats within days.
The chemical composition—binders, pigments, and solvents—determines how your paint responds to cleaning solutions and environmental stress. Premium paints use superior binders that resist cracking and maintain colour longer than budget alternatives.
Pro tip: Match your paint finish to your cleaning habits—high-traffic walls and kitchens demand semi-gloss durability, while bedrooms tolerate matte’s imperfection-hiding properties.
Building a regular paint care routine
A consistent paint maintenance schedule prevents small problems from becoming expensive repairs. Melbourne homeowners who establish regular care routines notice their homes stay fresher longer and their paint investments last significantly more years than those who neglect upkeep.
Effective paint care begins with understanding what your painted surfaces need and when they need it. This isn’t about constant work—it’s about strategic timing and attention that protects your property’s appearance and value.
Creating Your Maintenance Schedule
Start by inspecting your interior and exterior paint quarterly. Look for peeling, cracking, moisture stains, or colour fading that signals deterioration. Early detection lets you address issues before they spread and become costly.
Your maintenance schedule should include:
- Monthly visual checks of high-traffic areas for marks and damage
- Quarterly deep inspections of walls, trim, and exterior surfaces
- Twice-yearly cleaning of exterior surfaces to remove dirt and mildew
- Annual assessment of paint condition before winter and summer weather stress
- Touch-ups scheduled immediately when damage appears
Catching paint problems early costs hundreds of dollars less than waiting for widespread deterioration.
Document what you find during inspections. Note areas showing signs of wear, moisture problems, or colour fading. This record helps you prioritise repairs and plan future painting projects strategically.
Storing Paint for Future Touch-Ups
Store leftover paint properly to ensure it remains usable for future touch-ups. Seal paint cans tightly, store them in a cool, dry location with stable temperatures, and keep them away from extreme heat or humidity. Proper storage extends your paint’s shelf life and prevents hardening or separation.
Keep accurate records of paint colours, brands, and finish types you’ve used. Store these details alongside your paint samples so you can match them precisely when touching up years later. Paint colours fade and batch variations exist, making exact matching critical for seamless repairs.
Prompt Repairs and Touch-Ups
Address paint damage immediately rather than letting it accumulate. Small cracks allow moisture to penetrate and cause mould growth or structural deterioration. Peeling paint exposes underlying surfaces to weather damage that becomes exponentially more expensive to repair.
Planning timely touch-ups using stored paint prevents seasonal weather from worsening deterioration. A quick repair during summer protects your home before winter moisture arrives. Addressing damage promptly keeps your paint acting as a protective barrier rather than allowing it to fail.
For exterior surfaces, clean the damaged area thoroughly before applying touch-up paint. Dirt and loose paint prevent proper adhesion and cause the repair to fail. Interior touch-ups require less preparation, but cleaning the area ensures colour matching and durability.
Pro tip: Schedule your quarterly inspections on the same date each season—mark them in your calendar to build the habit and catch problems consistently before they escalate.
Weatherproofing and seasonal protection strategies
Melbourne’s unpredictable weather tests paint’s durability every single day. Rain, intense summer sun, temperature swings, and coastal salt air all attack your paint’s protective barrier. Weatherproofing your home through strategic paint maintenance stops moisture from penetrating walls and causing structural damage that costs thousands to repair.
Your paint is only as effective as the surfaces it covers. Gaps around windows, cracks in timber, and failing seals allow water behind the paint layer where it causes mould, rot, and peeling. Weatherproofing addresses these vulnerabilities before paint failure begins.
Sealing Vulnerable Areas
Water infiltration happens at transition points where different materials meet. Doors, windows, gutters, and roof edges are your home’s most vulnerable spots during heavy rainfall.
Critical sealing areas include:
- Gaps around door and window frames
- Joints between different wall materials
- Cracks in external timber trim and weatherboards
- Gaps in gutters and downpipe connections
- Cracks in foundations and rendered surfaces
- Gaps around vents and external pipes
Water finds every tiny gap you miss—sealing vulnerabilities prevents expensive internal damage.
Inspect these areas every six months, especially after harsh weather. Weatherproofing caulk and sealants degrade over time and need reapplication. A small investment in maintenance now saves enormous repair costs later.
Roof and Gutter Maintenance
Your roof and gutters form the first line of defence against water damage. Gutters clogged with leaves and debris force water over edges where it damages fascias, soffit boards, and external walls. Clean gutters twice yearly—spring and autumn—to ensure water flows freely.
Inspect roof paint and coatings annually for peeling or bare patches. These expose underlying materials to UV damage and moisture penetration. Touch up roof paint promptly before problems spread to the structure underneath.
Seasonal Paint Protection
Paint standards for weather resistance specify how coatings protect against moisture, UV radiation, and temperature extremes common in Australian climates. Premium exterior paints rated for your climate provide superior protection compared to budget alternatives that fade and fail rapidly.
Before winter, inspect exterior surfaces for cracks and peeling. Summer’s heat and intense sun damage paint, making autumn the ideal time to address deterioration. Spring inspections catch winter moisture damage before summer heat sets in.
Maintain proper drainage around your home’s foundation. Poor drainage pushes moisture against walls where it breaks through paint and causes rising damp. Slope soil away from foundations and ensure downpipes direct water at least one metre from your home.
The table below summarises key seasonal paint maintenance actions for Melbourne homes:
| Season | Main Focus | Typical Action |
|---|---|---|
| Autumn | Repair sun damage | Clean gutters, inspect walls |
| Winter | Prevent moisture issues | Check for leaks, touch-ups |
| Spring | Prepare for heat | Exterior paint cleaning |
| Summer | Shield from UV | Inspect fading, plan repaint |
Pro tip: Schedule gutter cleaning and external paint inspections immediately after major storms—damage is visible and repairs are straightforward before problems compound.
Expert fixes for common paint issues
Paint problems happen to every homeowner, but most are fixable without calling professionals. Understanding what went wrong and how to correct it saves time, frustration, and money. Some issues require simple touch-ups; others need more careful attention to prevent the same problem recurring.
Common paint failures stem from poor preparation, wrong application techniques, or environmental factors. Diagnosing the root cause prevents throwing paint at a problem that needs a different solution.
Fixing Missed Spots and Uneven Coverage
Missed spots and patchy coverage appear after paint dries, when lighting reveals what wet paint hid. These are among the easiest issues to fix because they require minimal effort.
To fix missed spots:
- Wait for the paint to dry completely
- Use your stored paint sample to match the colour exactly
- Apply paint with a small brush to the missed area
- Blend edges by feathering paint outward to prevent visible lap marks
- Allow to dry and assess whether additional coats are needed
Missed spots are invisible when wet—always inspect after drying to catch them early.
Uneven coverage often results from insufficient coats or poor roller technique. Apply a second coat if the first coat appears thin. Ensure your roller nap matches your surface texture and remove lint before painting to prevent bumpy finishes.
Addressing Paint Runs and Drips
Paint runs occur when too much paint accumulates on brush or roller, creating drips that run down walls. These hardened drips mar your finish and require correction.
To fix paint runs:
- Allow the paint to dry completely
- Sand the run smooth using fine-grit sandpaper (220-grit)
- Wipe away dust with a damp cloth
- Apply paint carefully to the sanded area
- Feather edges to blend with surrounding paint
Prevention is easier than repair. Apply thinner coats and remove excess paint from your brush before painting. Maintain consistent technique and speed when rolling to keep paint distribution even.
Peeling, Cracking, and Adhesion Failures
Paint adhesion issues reveal surface preparation problems. Paint peels when it cannot bond to the underlying surface due to dirt, moisture, or old paint breakdown. Cracking indicates the paint layer has lost flexibility or the surface has moved.
These problems require proper diagnosis before repainting. Remove all loose paint by scraping and sanding. Clean the surface thoroughly and repair any moisture sources. Prime bare surfaces before repainting with paint suited to your climate conditions.
Blistering and Moisture Issues
Blisters form when moisture becomes trapped under dried paint, pushing the coating away from the surface. This indicates moisture problems that painting over will not solve. Address the moisture source—poor ventilation, inadequate gutters, or rising damp—before repainting.
Sand off blisters, identify and fix moisture sources, allow surfaces to dry completely, and prime before repainting. Ignoring moisture problems guarantees repeat failures.
Pro tip: Keep detailed notes of which paint products and colours you used with photos of the finished result—this reference guide becomes invaluable when diagnosing future issues or matching touch-ups years later.
Protect Your Melbourne Home with Expert Paint Maintenance from Sol Shine
Maintaining your paint is key to preserving your home’s value and avoiding costly repairs caused by peeling, cracking, or moisture damage. This article highlights critical challenges like proper surface preparation, weatherproofing vulnerable areas, and choosing the right paint finishes for Melbourne’s unique climate. If you want lasting results that boost curb appeal and safeguard your investment, professional help makes all the difference.

Explore how Sol Shine’s comprehensive interior painting and exterior painting services use premium materials and weather-resistant coatings tailored to local conditions. Our team applies expert techniques including timber sealing and roof painting to address invisible problems before they escalate. Act now to secure a fresher, stronger finish that stands up to seasonal changes and keeps your home looking its absolute best. Visit Sol Shine today to book a consultation and protect your Melbourne home for years to come.
Frequently Asked Questions
When is the best time to paint my home?
The best time to paint is during dry periods like spring or autumn when temperatures are moderate and humidity is low, allowing for proper curing and a smoother finish.
How can I ensure my paint job lasts longer?
Proper surface preparation is key to a successful paint job. Clean surfaces, fill cracks, sand rough areas, and prime bare wood to improve paint adhesion and durability.
What are the differences between water-based and oil-based paints?
Water-based paints dry faster, emit fewer fumes, and are easier to clean up with soap and water. Oil-based paints provide a harder finish and are more durable but emit strong odours and require mineral spirits for cleanup.
How can I create an effective paint maintenance schedule?
Inspect your paint quarterly for signs of wear, maintain clean exterior surfaces twice a year, and perform touch-ups immediately when damage appears to prolong the life of your paint.


