
TL;DR:
- Proper surface preparation is crucial for lasting paint adhesion and durability, as 70-80% of failures stem from inadequate prep.
- Assessing, cleaning, and profiling are essential steps that ensure the coating bonds properly and lasts up to ten years.
Surface preparation is the engineering process that determines whether paint adheres, endures, and protects your home for years or fails within months. For Melbourne homeowners planning a renovation or repaint, the importance of surface preparation cannot be overstated. Coating failures trace back to poor preparation in 70–80% of cases. That single figure explains why experienced painters spend more time preparing surfaces than applying paint. Get the foundation right, and the finish takes care of itself.
What are the key surface preparation techniques for homeowners?
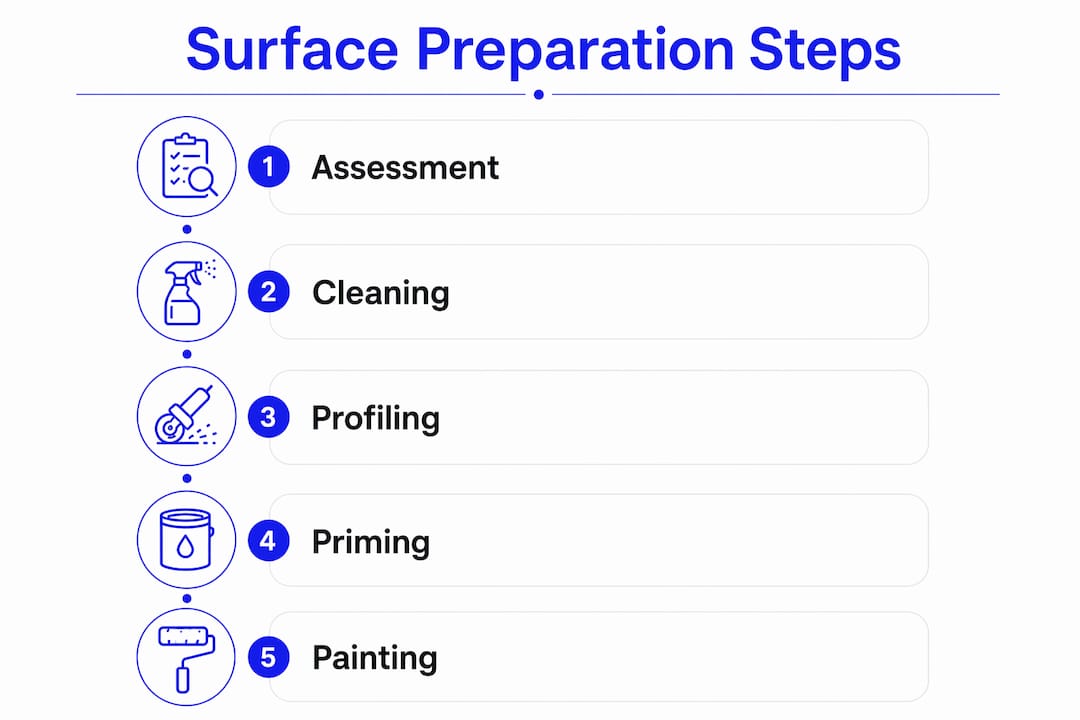
Professional surface preparation follows three systematic phases: assessment, cleaning, and profiling. Each phase builds on the last, and skipping any one of them creates a weak point in the coating system.
Assessment means examining the substrate for cracks, moisture, peeling paint, rust, mould, or salt deposits before any work begins. A visual check alone is not enough. Moisture meters reveal hidden damp in timber weatherboards and masonry walls that would cause bubbling and peeling if painted over.
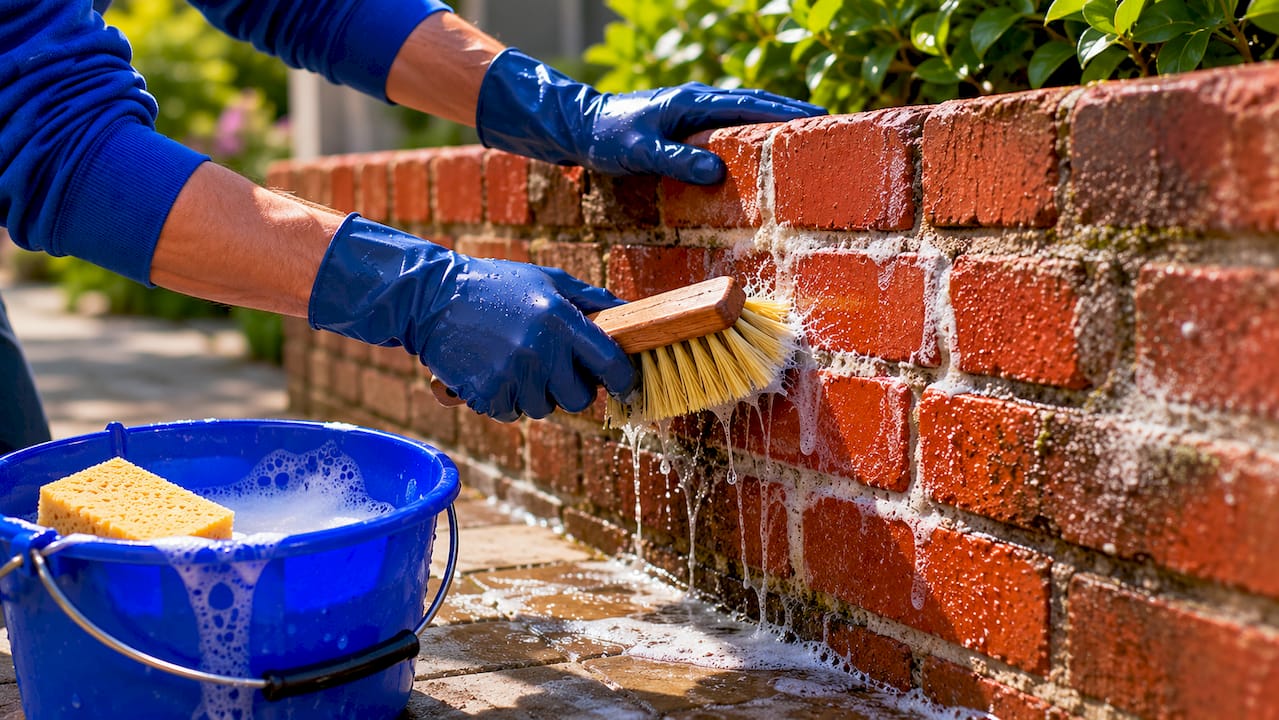
Cleaning and degreasing removes the contaminants that prevent paint from bonding. Water alone leaves oils and greases on the surface, which cause adhesion failures when painted over. Specialised degreasers or detergents are required before sanding or coating any surface that has been exposed to cooking fumes, vehicle exhaust, or general grime.
Profiling creates the physical texture that paint grips onto. Sanding is the most common method for residential work. The right grit matters:
- 80–120 grit: heavy removal of old paint, rust, or rough timber
- 180–220 grit: smoothing prior to priming on interior walls and fine joinery
- Pressure washing: effective for exterior masonry and rendered surfaces before repainting
- Blast cleaning: used on metal surfaces to create micro-textured profiles critical for mechanical bonding under demanding coatings
Matching the preparation method to the substrate protects the material. Over-sanding delicate heritage timber trims in a Hawthorn or Camberwell home can damage the grain and reduce the surface’s ability to hold a coating.
Pro Tip: Use a moisture meter on timber and masonry before priming. Visual dryness is not reliable. Trapped moisture expands with heat and causes blistering from underneath, which no amount of quality paint can prevent.
How does surface preparation impact paint adhesion and durability?
Paint bonds to surfaces through two mechanisms: mechanical bonding and chemical adhesion. Understanding both explains why preparation quality outweighs paint quality in determining how long a finish lasts.
Mechanical bonding occurs when paint flows into the microscopic texture of a prepared surface and locks in place as it cures. Surface profiling creates thousands of anchor points per square inch. A smooth, unprepared surface offers almost none. This is why paint applied directly to glossy or sealed surfaces peels away cleanly, taking no substrate with it.
Chemical adhesion requires a contaminant-free surface. Oils, salts, dust, and moisture all sit between the paint film and the substrate, preventing a true bond from forming. The result is delamination, blistering, or flaking within months rather than years.
“Paint appearance is what the owner sees. Durability depends entirely on preparation quality and bonding.” — Moorhouse Coating Blog
The lifecycle cost difference is significant. Proper preparation extends coating lifespan from 18–36 months to up to 10 years. A repaint that fails in two years costs far more over a decade than one done correctly the first time. For Melbourne homeowners managing Victorian or Edwardian homes, where exterior timber and render are constantly exposed to the city’s variable weather, that difference is measured in thousands of dollars.
Surface preparation represents 30–50% of total project cost but determines 70–80% of final coating performance. Spending more time and money on preparation is not inefficiency. It is the most cost-effective decision in any painting project.
What mistakes do homeowners commonly make in surface preparation?
The most frequent errors in residential surface preparation share a common cause: treating preparation as a formality rather than the most critical phase of the project.
- Cleaning with water only. Hosing down a wall removes loose dirt but leaves oils and greases intact. Paint applied over a greasy surface will not bond. Use a purpose-made degreaser before any sanding or priming.
- Ignoring soluble salt contamination. Soluble salts are invisible to the naked eye but cause osmotic blistering as moisture moves through the coating. This is particularly common on older masonry in Melbourne’s bayside suburbs, where salt-laden air accelerates the problem. Special testing and removal techniques are required.
- Skipping the moisture check. Trapped moisture under coatings expands with heat and causes blistering. A surface that looks and feels dry can still hold enough moisture to cause failure. Always test with a moisture meter.
- Over-sanding fine surfaces. Aggressive sanding on heritage timber joinery or delicate plaster can embed contaminants deeper into substrate pores, which worsens adhesion problems rather than solving them. Match the grit and pressure to the material.
- Skipping primer on demanding substrates. Bare timber, new plaster, and repaired render all require a primer coat before the topcoat. Primer seals the substrate, improves adhesion, and prevents uneven absorption that causes patchy colour.
Pro Tip: Before painting any exterior surface, test for soluble salts using a conductivity meter or salt test kit. On older Melbourne homes near the bay, this step alone can prevent a repaint failing within 12 months.
Skipping preparation to save time or money leads to early failures that cost more to fix than the original project. The saving is false economy every time.
How to prepare surfaces effectively: practical steps for Melbourne homes
The right approach to surface preparation depends on the substrate. Timber, masonry, and metal each respond differently to cleaning, profiling, and priming. A homeowner’s guide to surface prep can help you understand what each material needs before you begin.
Timber surfaces
Timber weatherboards, window frames, and heritage timber trims are common on Melbourne’s Victorian and Edwardian homes. Clean with a sugar soap solution, rinse thoroughly, and allow to dry completely. Sand with 120 grit to remove old paint and create a profile, then finish with 180–220 grit before priming. Check moisture content with a meter before applying any coating.
Masonry and render
Pressure wash to remove dirt, mould, and loose render. Allow at least 48 hours of drying time in Melbourne’s cooler months. Check for cracks and repair with a compatible filler before priming. Test for salt contamination on older or coastal-facing walls.
Metal surfaces
Remove rust with a wire brush or angle grinder. Wipe down with a solvent degreaser to remove all oils. Apply a rust-inhibiting primer before any topcoat. Metal expands and contracts with temperature, so the primer must be flexible enough to move with the substrate.
Recommended tools for residential surface preparation:
- Moisture meter (timber and masonry)
- Orbital sander with interchangeable grit pads
- Pressure washer (exterior masonry and weatherboards)
- Sugar soap or purpose-made degreaser
- Salt test kit (bayside and older properties)
- Stiff-bristle brush and scraper for loose paint removal
Knowing when to hire a professional versus tackling preparation yourself comes down to scale, substrate condition, and the presence of hazardous materials. Lead paint is present in many Melbourne homes built before 1970. Disturbing it without proper containment is a health risk and a legal issue. For large-scale projects, heritage properties, or surfaces with significant deterioration, professional preparation is the right call.
Key takeaways
Proper surface preparation is the single most important factor in coating performance, with 70–80% of premature failures caused by inadequate preparation rather than poor paint quality.
| Point | Details |
|---|---|
| Preparation drives performance | 70–80% of coating failures stem from poor prep, not poor paint choice. |
| Three phases are non-negotiable | Assessment, cleaning, and profiling must all be completed before any coating is applied. |
| Moisture is a hidden threat | Always test with a moisture meter. Visual dryness does not confirm substrate stability. |
| Lifespan difference is significant | Good preparation extends coating life from 18–36 months to up to 10 years. |
| Skipping prep costs more | Early coating failure costs more to repair than the original project done correctly. |
Why I think most homeowners underestimate surface preparation
After years of working on Melbourne homes, from rendered Edwardian façades in Kew to painted weatherboard cottages in Northcote, the pattern is consistent. Homeowners focus on colour selection, paint brand, and finish sheen. The preparation phase gets treated as a quick clean and a light sand before the “real work” begins.
That mindset is the single biggest cause of repaints failing before they should. I have seen premium coatings, applied over surfaces that were not properly degreased or dried, begin peeling within 18 months. The paint was not the problem. The invisible foundation beneath it was.
What surprises most homeowners is that surface preparation is an engineering process, not a cosmetic one. The paint you see is the result. The preparation you cannot see is the reason it lasts. Spending an extra day on cleaning, profiling, and priming is not perfectionism. It is the difference between a finish that holds for a decade and one that needs attention in two years.
My honest advice: budget time and money for preparation first. If the project budget is tight, use a mid-range paint on a perfectly prepared surface rather than a premium paint on a poorly prepared one. The prepared surface will win every time.
— Jarrad
Sol Shine’s approach to preparation-first painting in Melbourne
Sol Shine treats surface preparation as the foundation of every project, not an afterthought.
Whether it is an interior repaint in a Hawthorn terrace or a full exterior painting and heritage restoration in Brighton, Sol Shine’s team assesses, cleans, and profiles every surface before a brush touches the wall. The team services Melbourne’s inner east, bayside, and surrounding suburbs including Camberwell, Malvern, Richmond, Fitzroy, Doncaster, Thornbury, and Essendon. For homeowners planning a large-scale renovation or repaint, contact Sol Shine for a quote that starts with preparation and delivers results that last.
FAQ
What causes most paint failures on Melbourne homes?
Inadequate surface preparation causes 70–80% of premature coating failures. Poor cleaning, skipped priming, and undetected moisture are the most common culprits.
How long does proper surface preparation extend paint life?
Well-prepared surfaces extend coating lifespan from 18–36 months to up to 10 years, making preparation the highest-return investment in any painting project.
Do I need a primer on every surface before painting?
Bare timber, new plaster, repaired render, and bare metal all require a primer coat. Primer seals the substrate, improves adhesion, and prevents uneven paint absorption.
How do I know if my surface has enough moisture to cause problems?
Visual dryness is not a reliable indicator. Use a moisture meter on timber and masonry before applying any coating. Trapped moisture expands with heat and causes blistering from underneath the paint film.
When should I hire a professional for surface preparation?
Hire a professional when the project involves lead paint (common in Melbourne homes built before 1970), significant substrate damage, heritage materials, or large exterior surfaces where thorough preparation requires specialist equipment and experience.


