
TL;DR:
- A systematic painting workflow ensures durable, professional results for interior and exterior projects. Proper preparation, sequencing, and drying times are crucial to prevent paint failure and achieve a long-lasting finish. Skipping steps like cleaning, priming, or drying causes adhesion problems and early deterioration of paint.
A step-by-step painting workflow is a systematic process that takes homeowners through preparation, painting, and finishing in a defined sequence to achieve durable, professional results. Whether you are repainting interior walls in a Hawthorn terrace or refreshing the façade of a weatherboard home in Brighton, the sequence matters as much as the paint itself. Skipping steps, particularly cleaning and priming, is the single most common cause of premature paint failure. This guide covers the complete painting process for both interior and exterior projects, including the tools, techniques, and timing that Melbourne conditions demand.
What tools and materials do you need before starting?
The right tools determine the quality of your finish before a single drop of paint touches the wall. Buying cheap brushes or undersized rollers is a false economy. They leave marks, shed fibres, and make cutting in far harder than it needs to be.
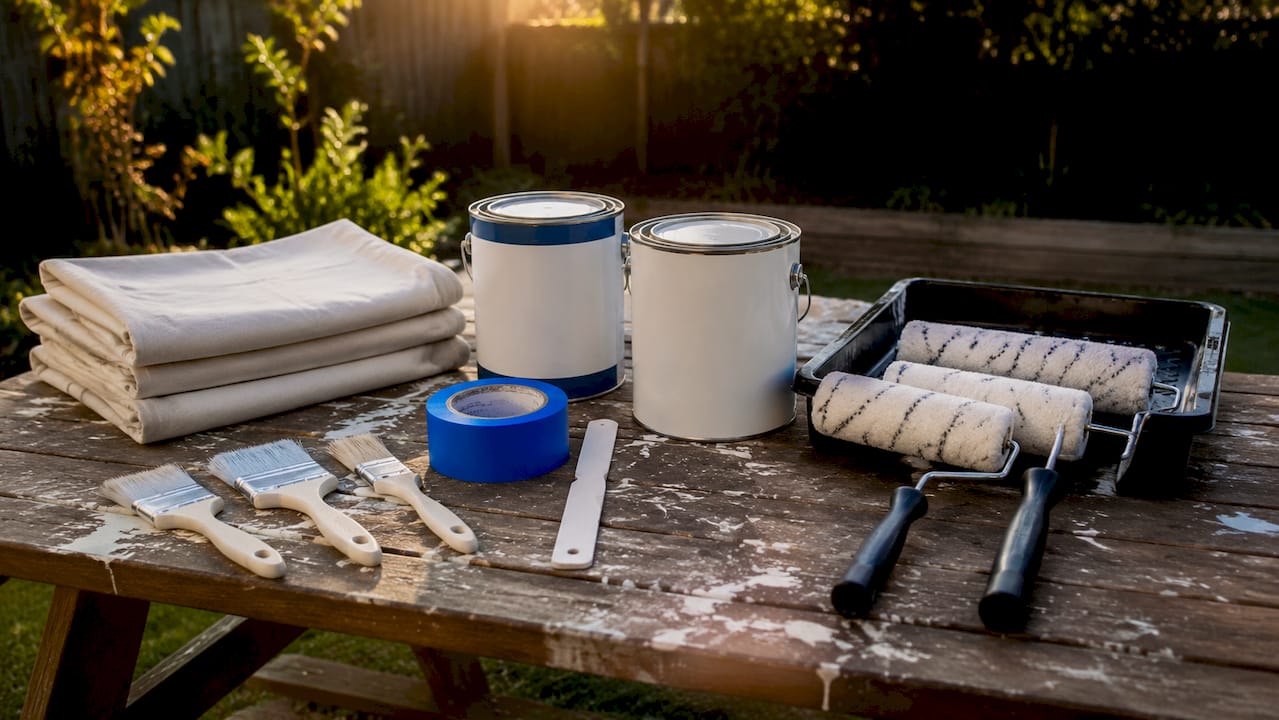
| Tool or material | Purpose |
|---|---|
| Angled sash brush (50–75 mm) | Cutting in along edges, cornices, and trims |
| Roller and frame (230 mm) | Applying paint to large flat wall areas |
| Roller tray and liner | Loading the roller evenly |
| Sanding sheets (80, 120, 180 grit) | Smoothing surfaces and creating mechanical key |
| Sugar soap or trisodium phosphate (TSP) | Degreasing and cleaning walls before painting |
| Patching compound or spackling | Filling holes, cracks, and dents |
| Primer | Sealing bare surfaces and improving adhesion |
| Drop sheets and masking tape | Protecting floors, trims, and fixtures |
| Painter’s pole | Extending roller reach on high walls |
Quality rollers with a 10–12 mm nap suit most interior walls. A 15–20 mm nap handles textured or rendered surfaces more effectively. For must-have painting tools, the difference between a budget and mid-range brush shows immediately in how cleanly you can cut a line.
Pro Tip: Buy two angled sash brushes. Use one for cutting in with the wall colour and keep a second dedicated to trim work. Cross-contamination between colours on a single brush creates touch-up headaches later.
How should you prepare interior walls and exterior surfaces?
Thorough preparation is the most time-consuming part of any painting project. It is also the part that determines whether your finish lasts two years or twelve.
Interior preparation
Start by moving furniture to the centre of the room and covering it with drop sheets. Remove power point covers, light switch plates, and any wall fixtures. Lay drop sheets across the entire floor, not just near the walls.
Wall washing is the most missed preparation step and the leading cause of adhesion failure. Use sugar soap or TSP diluted in warm water, working from the bottom of the wall upward to prevent streaking. Pay particular attention to kitchens and bathrooms where grease and moisture accumulate.
Once walls are dry, inspect for holes, cracks, and dents. Apply patching compound and allow it to dry fully. Patch filler requires at least one hour of drying time before sanding, and deeper repairs need longer. Sand repaired areas smooth with 120 grit, then finish with 180 grit for a seamless surface.
After sanding, dust removal is critical. Skipping this step undermines adhesion even when sanding is done correctly. Wipe walls with a damp cloth or use a vacuum with a brush attachment. Priming is necessary on bare plaster, heavily patched areas, or when making a significant colour change. For guidance on when primer is needed, the decision depends on surface condition and the paint system you are using.
Exterior preparation
Exterior preparation follows a similar logic but with greater consequences for skipping steps. Exterior paint durability depends chiefly on managing moisture risk and selecting the correct primer. Topcoat colour is far less important for longevity than what happens underneath it.
- Inspect the existing coating for peeling, flaking, chalking, or blistering
- Check timber and weatherboards for rot, raised grain, or open joints
- Look for mould or efflorescence on render and masonry
- Pressure wash or render wash the entire surface to remove dirt, mould, and loose paint
- Allow a minimum of 48 hours drying time after washing render or masonry before applying repairs or primer
- Scrape and sand all loose or flaking paint back to a firm edge
- Fill cracks with an appropriate exterior filler and allow full cure time
- Apply a stain-blocking or adhesion primer to bare or repaired areas
Pro Tip: In Melbourne, avoid exterior painting during periods of high humidity or when rain is forecast within 24 hours. Early autumn and late spring offer the most reliable conditions. Morning application allows paint to cure before evening temperature drops.
What is the step-by-step interior painting process?
Interior painting follows a precise sequence. Cutting in before rolling is non-negotiable. Reversing the order creates visible overlap marks that no second coat will fully hide.
- Cut in the ceiling line. Load your angled sash brush to about one third of the bristle length. Work in smooth, controlled strokes along the ceiling junction, leaving a band of paint roughly 50–75 mm wide.
- Cut in around trims and architraves. Use the same brush to paint along door frames, window reveals, and skirting boards. Keep a damp cloth nearby to catch any drips on trim surfaces.
- Load and roll the walls. Pour paint into the tray and load the roller by rolling it back and forth across the ribbed section until evenly coated. Do not overload. Apply paint in a W or M pattern across a roughly one square metre section, then fill in with vertical strokes to even out coverage.
- Maintain a wet edge. Always roll back into the section you just painted while it is still wet. This prevents lap marks, which are the most visible sign of amateur technique.
- Allow the first coat to dry fully. Drying times vary by product and conditions, but most interior paints require a minimum of two hours between coats. Check the manufacturer’s specification on the tin.
- Apply the second coat. Repeat the cut-in and roll sequence. The second coat is where the finish quality becomes apparent. Work methodically and avoid touching up wet sections.
- Paint trims last. Once wall coats are complete and dry, paint skirting boards, architraves, and door frames with a semi-gloss or gloss finish. This sequence prevents wall paint from contaminating trim work.
A standard 10 litre tin of quality interior paint covers approximately 100–140 square metres per coat, depending on surface porosity. Highly porous or freshly plastered walls will absorb more and may require a third coat.
How does the exterior painting workflow differ?
Exterior painting shares the same logic as interior work but operates under tighter constraints. Weather, substrate condition, and coating compatibility all affect the outcome in ways that interior projects rarely face.
| Stage | Interior workflow | Exterior workflow |
|---|---|---|
| Surface assessment | Check for holes, stains, and moisture | Assess coating condition, rot, mould, and moisture |
| Cleaning method | Sugar soap or TSP by hand | Pressure washing or render washing |
| Drying time after wash | 2–4 hours | Minimum 48 hours for render and masonry |
| Primer requirement | Bare plaster, patches, colour changes | All bare timber, repaired areas, stain-blocking needs |
| Topcoat application | Two coats, 2 hours apart | Two coats, weather-dependent drying windows |
| Timing sensitivity | Low, controlled environment | High, weather and temperature dependent |
Exterior paint failures commonly stem from hidden moisture issues rather than topcoat faults. This is why condition assessment and drying verification matter far more than simply choosing a premium topcoat colour. On weatherboard homes in Melbourne’s inner east, timber movement across seasons means joints and end grain need particular attention before priming.
Masking is also more involved outdoors. Protect windows, doors, downpipes, and garden beds with masking tape and plastic sheeting before applying any coating. Apply two full topcoats, allowing each to cure according to the product specification and local weather conditions.
What mistakes should Melbourne homeowners avoid?
Most painting problems are preparation problems. The finish reveals every shortcut taken in the stages before it.
- Skipping wall washing. Grease, dust, and residue prevent paint from bonding. Adhesion failure from inadequate cleaning is the most common cause of early paint deterioration.
- Rushing drying times. Applying a second coat over a wet first coat traps moisture and causes bubbling or peeling within weeks.
- Ignoring primer. Bare plaster, repaired patches, and significant colour changes all require primer. Skipping it leads to uneven sheen and patchy coverage.
- Overloading the brush or roller. Too much paint on the tool causes drips, runs, and uneven texture. Load lightly and build coverage with multiple passes.
- Poor dust removal after sanding. Even thorough sanding fails if dust is left on the surface. Dust left after sanding creates a barrier between the surface and the primer or paint.
- Painting in unsuitable weather. High humidity, direct sun, or temperatures below 10°C all affect how paint cures and bonds to exterior surfaces.
Pro Tip: If you discover peeling or flaking paint after the job is done, do not simply paint over it. Scrape back to a firm edge, sand the perimeter smooth, spot prime, and repaint the affected area. Painting over loose paint accelerates the problem.
Key takeaways
A successful painting project depends on preparation quality, correct sequencing, and respecting drying times at every stage.
| Point | Details |
|---|---|
| Preparation drives the result | Cleaning, patching, and priming determine adhesion and finish quality more than topcoat choice. |
| Sequence is non-negotiable | Cut in before rolling, and complete wall coats before painting trims. |
| Drying times protect your work | Allow full drying between coats; rushing causes bubbling, peeling, and lap marks. |
| Exterior prep is more demanding | Render and masonry need at least 48 hours drying after washing before repairs or primer. |
| Moisture is the exterior enemy | Hidden moisture behind coatings is the primary cause of exterior paint failure in Melbourne. |
What I have learned from managing painting projects in Melbourne
Working on painting projects across Melbourne’s inner east and bayside suburbs has reinforced one lesson above all others: the homes that hold their finish longest are the ones where the most time was spent before the first coat went on.
Homeowners often underestimate how much preparation affects the final result. They budget for paint and tools but not for the hours of washing, patching, sanding, and priming that make those materials perform. A quality primer applied to a properly prepared surface outperforms the most expensive topcoat applied to a dirty or dusty wall.
Melbourne’s weather adds a layer of complexity that interstate guides rarely address. The city’s variable spring and autumn conditions mean exterior projects need careful scheduling. I have seen beautifully applied topcoats fail within a season because the substrate was still holding moisture from a wet winter. Checking drying conditions, not just the weather forecast, is the difference between a finish that lasts a decade and one that starts peeling by the following summer.
My honest advice is to follow the workflow in order and resist the urge to skip ahead. The preparation stages feel slow and unglamorous. They are also where the real work happens.
— Jarrad
Sol Shine’s painting services for Melbourne homeowners
Sol Shine brings the same systematic approach described in this guide to every residential project across Melbourne’s inner east, bayside, and surrounding suburbs.

Whether you need a full interior repaint for a period home in Camberwell or a complete exterior painting service for a weatherboard property in Brighton, Sol Shine handles preparation, priming, and finishing under one roof. Every project follows a defined workflow, with proactive communication at each stage so you know exactly what is happening and when. For homeowners who want the job done properly the first time, Sol Shine’s Melbourne painting portfolio shows the standard of finish you can expect.
FAQ
What is the correct order for a painting workflow?
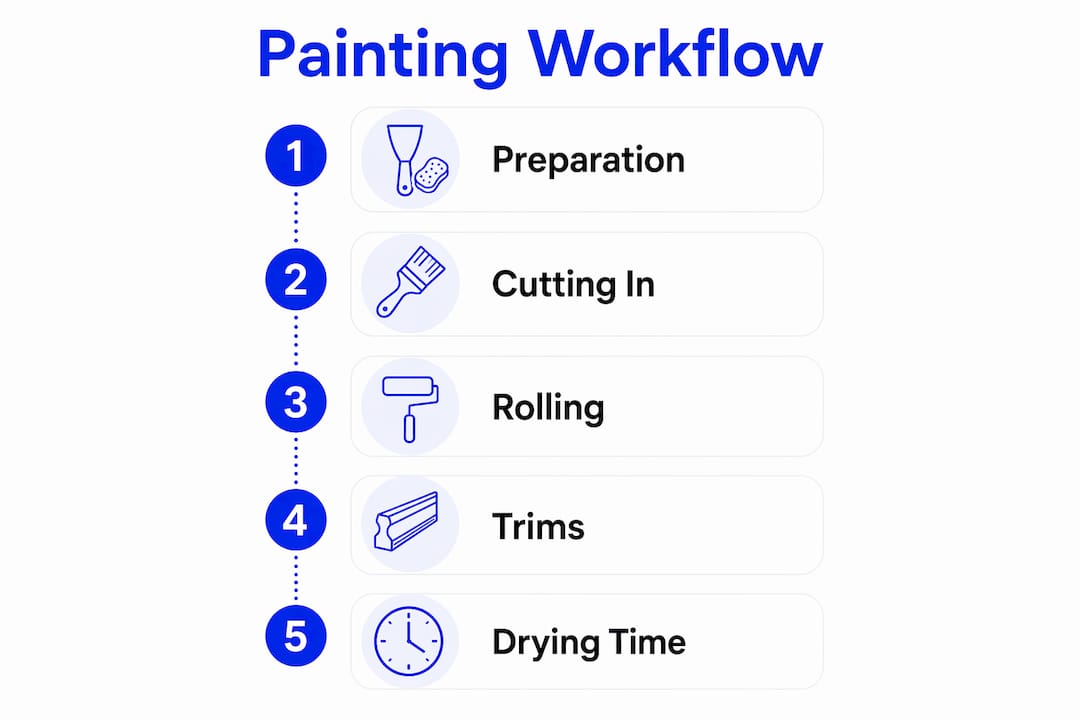
The correct order is preparation first, then cutting in, then rolling, then trims. Skipping or reversing any stage creates visible defects that are difficult to correct after the paint dries.
How long should you wait between coats of interior paint?
Most interior paints require a minimum of two hours between coats. Always check the manufacturer’s specification on the tin, as drying times vary by product and ambient conditions.
Why is wall washing so important before painting?
Wall washing removes grease, dust, and residue that prevent paint from bonding to the surface. Skipping this step is the leading cause of adhesion failure and premature paint deterioration.
How long should render dry before painting?
Render and masonry surfaces need a minimum of 48 hours after washing before repairs or primer are applied. Painting over damp render traps moisture and causes the coating to fail.
Do you always need primer before painting?
Primer is necessary on bare plaster, heavily patched areas, bare timber, and when making a significant colour change. On previously painted surfaces in good condition with a similar colour, a quality topcoat may be sufficient without a separate primer coat.


