Heritage homes across Melbourne face a persistent challenge: 70% of heritage paint failures arise from moisture entrapment caused by impermeable paint layers. This happens when unsuitable modern paints trap moisture in traditional substrates like timber and masonry, causing blistering, peeling, and costly damage. This guide walks you through proven methods to achieve authentic, durable finishes that respect your home’s character while meeting council requirements.
Table of Contents
- Introduction To Heritage Painting Challenges
- Prerequisites: What You Need Before Starting
- Step 1: Surface Preparation And Repair
- Step 2: Paint Selection For Durability And Authenticity
- Step 3: Hiring A Heritage Specialist Painter
- Step 4: Council Compliance And Documentation
- Step 5: Project Timing And Scheduling
- Common Mistakes And How To Avoid Them
- Expected Outcomes And Longevity
- Premium Heritage Painting Services In Melbourne
- Frequently Asked Questions
Key takeaways
| Point | Details |
|---|---|
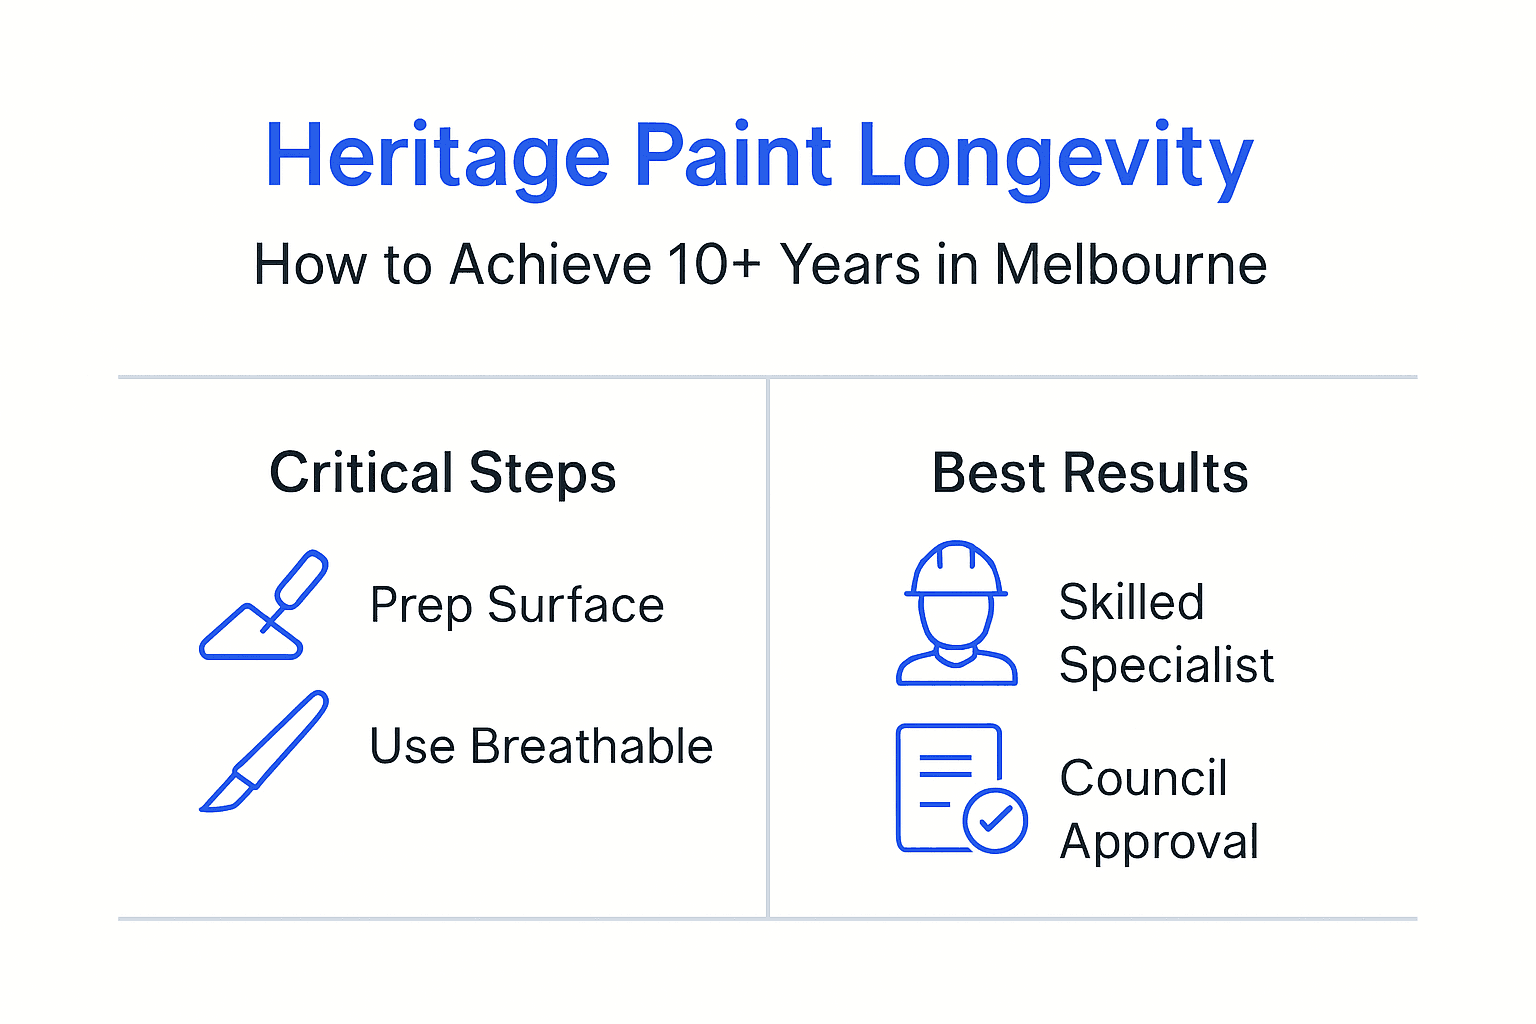
| Breathable paints prevent moisture damage | Heritage-approved products like Dulux Heritage and Porters Finishes allow substrates to breathe, avoiding trapped moisture that causes 70% of paint failures. |
| Surface preparation is critical | Thorough repairs and proper prep reduce paint delamination risk by over 60%, ensuring long-term adhesion. |
| Council compliance avoids delays | 80% of heritage projects face rework without proper documentation, so submit detailed plans and use approved paints. |
| Optimal timing extends lifespan | Painting during Melbourne’s dry season (October to March) improves curing and reduces failure rates by 30%. |
Introduction to heritage painting challenges
Melbourne’s Victorian and Edwardian homes present unique painting demands that go far beyond standard residential work. These properties require respect for original materials, design intent, and construction methods that date back over a century. Traditional substrates like lime render, solid timber weatherboards, and brick masonry respond differently to modern paints than contemporary building materials.
Melbourne’s climate adds another layer of complexity. Our city experiences dramatic temperature swings, high humidity in winter, and intense UV exposure in summer. These conditions test paint systems constantly, particularly on south-facing elevations where moisture lingers and north-facing walls where sun damage accelerates. Heritage homes in suburbs like Kew, Camberwell, and Brighton see these effects amplified due to mature tree canopies that retain moisture and reduce air circulation.
High-value restoration projects exceeding $20,000 demand tailored approaches. Cutting corners with inappropriate paints or rushed preparation leads to failures that require complete repainting within 3 to 5 years. Proper planning prevents these costly mistakes.
Breathable paint systems are essential for heritage substrates. Traditional materials need to release moisture naturally to prevent rot, structural damage, and substrate deterioration. When impermeable acrylic films seal these surfaces, trapped moisture has nowhere to go except into the substrate itself, causing the extensive damage observed in heritage painting projects in Melbourne’s inner east.
Key considerations include:
- Matching historic colour palettes accurately using period-appropriate techniques
- Selecting paints that bond properly with aged timber, render, and masonry
- Understanding how heritage overlays affect paint choices and application methods
- Coordinating with heritage consultants and council planners throughout the project
Prerequisites: what you need before starting
Successful heritage painting begins long before brushes touch surfaces. Proper groundwork prevents the delays and rework that plague unprepared projects.
Start with a thorough building assessment. Inspect all surfaces for structural issues, moisture ingress, timber rot, render delamination, and masonry cracks. Heritage homes often hide problems beneath existing paint layers. Identifying these issues early allows you to address them systematically rather than discovering them mid-project when delays become expensive.
Verify your property’s heritage overlay status through your local council. Different overlays impose varying requirements for paint colours, finishes, and application methods. 80% of heritage painting projects face delays or rework without proper council documentation in Melbourne, making this step non-negotiable. Request heritage guidelines specific to your suburb and property classification.
Assemble specialised tools and equipment:
- Orbital sanders with dust extraction for lead paint safety
- Heat guns and scrapers for controlled paint removal
- Injection systems for crack filling and consolidation
- Scaffolding suitable for multi-storey heritage properties
- Moisture meters to verify substrate readiness
Paint selection requires careful research. Choose heritage-compliant paint products and specialists who understand breathable formulations. Products like Dulux Heritage, Porters Paints Heritage Collection, and Haymes Heritage Colours offer the vapour permeability traditional substrates need. Avoid standard acrylic house paints regardless of marketing claims about durability.
Understand council heritage overlay requirements thoroughly before purchasing materials. Some councils maintain approved colour palettes, while others require paint sample submissions for approval. Documentation typically includes:
| Document Type | Purpose | Typical Processing Time |
|---|---|---|
| Heritage Impact Statement | Demonstrates paint changes respect heritage values | 4 to 6 weeks |
| Paint Colour Samples | Physical samples for council approval | 2 to 3 weeks |
| Repair Methodology | Details substrate preparation and repair approach | 3 to 4 weeks |
| Paint Product Specifications | Confirms breathability and heritage compliance | 1 to 2 weeks |
Step 1: surface preparation and repair
Surface preparation determines paint longevity more than any other factor. Surface repairs reduce the risk of paint delamination by over 60%, making thorough prep essential for lasting results.
Follow this systematic approach:
-
Remove loose and failing paint using gentle methods that preserve substrate integrity. Avoid aggressive sandblasting or high-pressure water blasting that damages soft heritage materials.
-
Test existing paint layers for lead content. Homes built before 1970 almost certainly contain lead paint. Safe removal requires containment, respiratory protection, and proper disposal following EPA guidelines.
-
Sand surfaces progressively using 80-grit through 180-grit papers. This creates the mechanical key needed for primer adhesion while smoothing imperfections.
-
Repair rotten timber by cutting back to sound wood and splicing in matching timber. Epoxy consolidants stabilise partially degraded sections without replacement.
-
Fill cracks in render and masonry using breathable lime-based mortars rather than cement-based products. Cement mortars are harder than heritage substrates and cause additional cracking.
-
Address moisture sources before painting. Fix leaking gutters, repoint brickwork, repair flashings, and ensure drainage directs water away from foundations.
-
Prime all prepared surfaces with heritage-compatible primers. These products seal substrates while maintaining vapour permeability.
Pro Tip: Document substrate conditions with photographs before, during, and after repairs. This evidence proves invaluable if council inspections require justification for repair methods or if warranty claims arise later.
Common prep failures include rushing through sanding stages, using incompatible fillers, and painting over moisture problems. Each compromises adhesion and accelerates paint failure. Take time to complete heritage surface repair and preparation techniques properly rather than meeting arbitrary deadlines that sacrifice quality.
Avoid common repair mistakes leading to paint failure by using products designed specifically for heritage substrates. Modern repair materials often prove incompatible with traditional building methods, creating interfaces where different expansion rates cause new cracks.
Step 2: paint selection for durability and authenticity
Paint choice separates successful heritage projects from expensive failures. The right products balance durability with breathability while maintaining period-appropriate aesthetics.
Breathable paints prevent the moisture entrapment that destroys heritage substrates. Traditional materials like lime render and solid timber need to release water vapour naturally. When sealed beneath impermeable acrylic films, trapped moisture causes rot, render delamination, and structural damage. Breathable paint technology allows vapour transmission while blocking liquid water penetration.
Recommended heritage paint brands and products include:
- Dulux Heritage: Micro-porous acrylic formulations with period colour matches
- Porters Paints Heritage Collection: Traditional lime wash and mineral paint systems
- Haymes Heritage Colours: Breathable acrylics with extensive historic palette
- Resene Heritage: Vapour-permeable formulations for Australian conditions
| Paint Type | Vapour Permeability | Durability (Years) | Best Application |
|---|---|---|---|
| Lime Wash | Excellent | 5 to 8 | Lime render, soft masonry |
| Mineral Paints | Excellent | 10 to 15 | Brick, render, stone |
| Heritage Acrylics | Good | 10 to 12 | Timber, prepared masonry |
| Traditional Oils | Poor | 8 to 10 | Timber in sheltered locations |
Avoid standard acrylic house paints on heritage substrates. These products form impervious films that trap moisture regardless of marketing claims. The immediate cost savings disappear when premature failure requires complete repainting within 5 years.
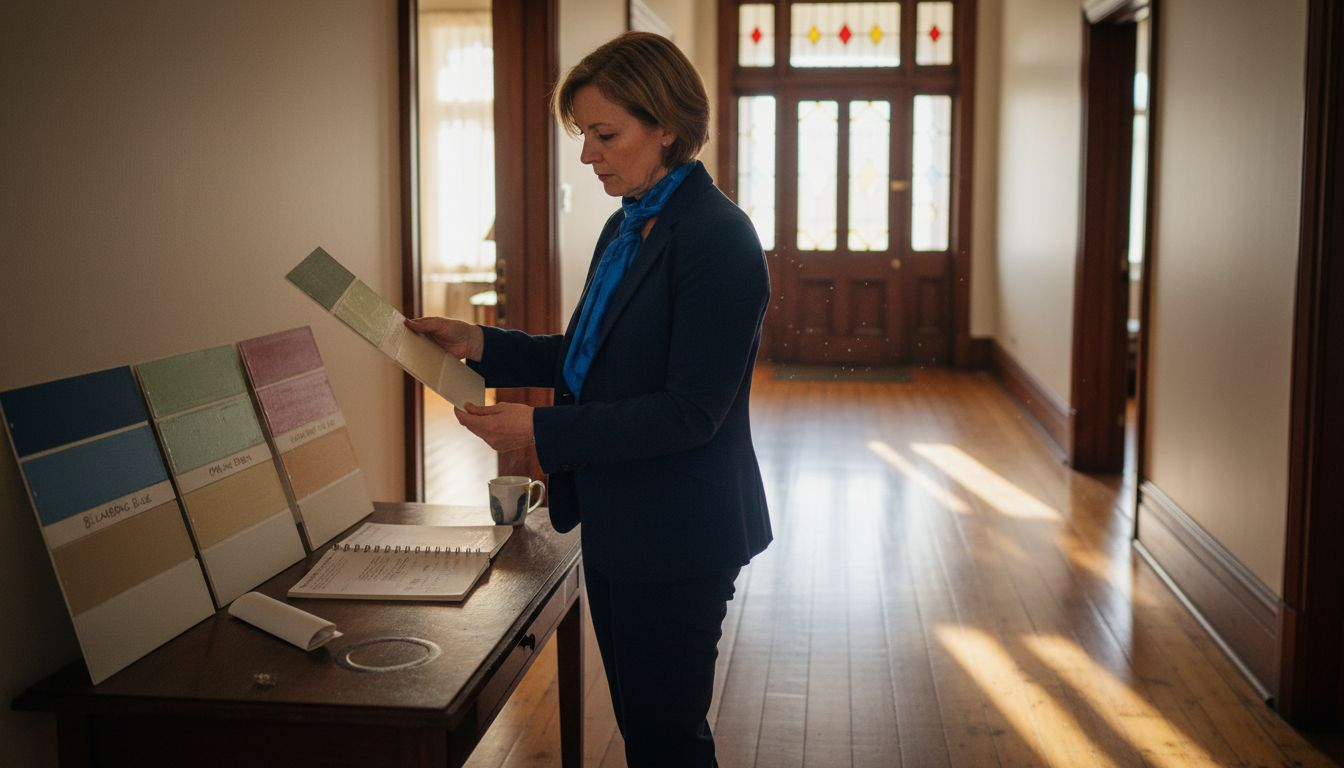
Accurate historic colour matching maintains architectural authenticity. Heritage colours differ from modern palettes in both hue and finish. Victorian-era pigments produced subtle variations modern paints cannot replicate without custom tinting. Research your home’s original colour scheme through:
- Paint scrapes revealing historic layers
- Period photographs and architectural drawings
- Council heritage studies documenting neighbourhood palettes
- Heritage colour consultants who specialise in accurate matching
Finish selection matters as much as colour. Heritage homes typically used flat or low-sheen finishes rather than modern satin or gloss. Higher sheen levels create an anachronistic appearance that diminishes heritage character.
Step 3: hiring a heritage specialist painter
General painters lack the specialised knowledge heritage homes require. Standard residential painting techniques often prove incompatible with traditional materials and council requirements.
Experienced heritage specialist painters bring critical expertise that prevents costly failures. Look for contractors with over 10 years of documented heritage experience rather than general residential work. This distinction matters because heritage projects involve unique challenges:
- Understanding how traditional substrates respond to modern paint systems
- Navigating complex council approval processes efficiently
- Selecting appropriate repair materials for aged building fabric
- Coordinating with heritage consultants and conservation architects
Verify credentials thoroughly before engaging contractors:
- Request references from completed heritage projects in Melbourne suburbs with similar overlay requirements
- Review portfolios showing Victorian and Edwardian homes comparable to your property
- Confirm insurance coverage includes heritage restoration work
- Verify understanding of lead paint safety and proper disposal procedures
Specialists reduce project risk significantly. Their familiarity with council processes prevents the documentation errors that cause approval delays. They understand which paint products actually perform as claimed versus marketing hype. Most importantly, they recognise substrate problems early when repairs remain manageable rather than discovering issues after painting begins.
Pro Tip: Ask potential contractors about their paint failure rate on heritage projects. Experienced specialists typically report failure rates below 5% over 10 years, while general painters using standard methods see failures approaching 30% within 5 years.
Coordination with heritage consultants enhances outcomes. Many complex projects benefit from independent heritage advisors who assess proposed work against conservation principles. Specialist painters work collaboratively with these consultants rather than viewing them as obstacles, streamlining approvals and ensuring authentic results.
Step 4: council compliance and documentation
Council approval processes protect Melbourne’s heritage character but require careful navigation. 80% of heritage painting projects face delays or rework without proper council documentation in Melbourne, making compliance planning essential.
Heritage overlays impose varying requirements depending on your property’s significance and location. Understanding council heritage overlay conditions specific to your suburb prevents surprises mid-project.
Submit comprehensive documentation packages including:
- Detailed paint colour samples showing proposed schemes on all elevations
- Photographs documenting current conditions and areas requiring repair
- Paint product specifications confirming breathability and heritage compliance
- Repair methodology statements explaining substrate preparation approaches
- Heritage impact assessments demonstrating how proposals respect heritage values
Use council-approved conservation-grade paints exclusively. Many councils maintain lists of acceptable products that meet breathability and durability standards. Substituting unapproved alternatives risks rejection even if products appear similar.
Maintain thorough project records throughout execution. Document each phase with dated photographs showing prep work, repairs, primer application, and finish coats. This evidence proves invaluable if council inspections question methodology or if warranty claims arise later.
Common compliance failures include:
- Assuming minor paint colour changes do not require approval
- Substituting similar colours without seeking amended approval
- Using modern repair materials incompatible with heritage overlays
- Commencing work before receiving formal council consent
Typical approval timelines span 6 to 12 weeks from initial submission to formal consent. Factor this duration into project planning to avoid weather-related delays. Submitting applications during winter allows approval processing while weather remains unsuitable for painting, positioning you to commence work when conditions improve in spring.
Engage with council compliance in Melbourne heritage painting early in project planning rather than treating it as an afterthought. This proactive approach identifies potential obstacles when design changes remain inexpensive rather than discovering issues after purchasing materials or engaging contractors.
Step 5: project timing and scheduling
Melbourne’s variable climate significantly impacts paint performance. Strategic timing improves outcomes and extends paint lifespan substantially.
Painting during dry months improves adhesion and curing times, reducing failure rates by 30%. Schedule heritage painting between October and March when conditions optimise paint performance.
Winter painting introduces multiple problems:
- Cold temperatures slow paint curing, leaving surfaces vulnerable to moisture damage
- High humidity prevents proper film formation, causing soft finishes prone to marking
- Reduced daylight hours limit daily working time
- Rain delays disrupt project schedules and increase costs
Ideal painting conditions occur during Melbourne’s dry season when:
- Temperatures remain consistently above 15°C for proper curing
- Humidity levels stay below 70% allowing adequate drying
- Extended daylight hours maximise productive working time
- Settled weather patterns reduce rain delay risks
Pro Tip: Schedule scheduling heritage painting projects to commence in October or November. This timing provides a weather buffer if unexpected delays occur while keeping projects on track for completion before the holiday period.
Substrate moisture content directly affects paint adhesion. Allow at least 7 days of dry weather after significant rain before commencing exterior painting. Use moisture meters to verify timber and masonry moisture levels fall within acceptable ranges specified by paint manufacturers.
Consider project duration when scheduling. Heritage painting typically progresses slower than standard residential work due to meticulous prep requirements and careful application techniques. A typical heritage exterior requiring comprehensive preparation spans 4 to 6 weeks from project commencement to final coat completion.
Coordinate with other trades if your project includes repairs beyond painting. Schedule structural repairs, render work, and timber replacement to complete before painting begins. This sequencing prevents damaging fresh paintwork during subsequent trades.
Common mistakes and how to avoid them
Heritage painting failures typically stem from predictable errors. Understanding these mistakes helps you avoid expensive repainting and substrate damage.
Using non-breathable paints remains the most common failure mode. 70% of heritage paint failures arise from moisture entrapment caused by impermeable paint layers. Standard acrylic house paints create moisture barriers that trap water vapour in traditional substrates. This trapped moisture causes timber rot, render delamination, and structural damage requiring extensive repairs beyond simple repainting.
Skipping comprehensive surface repairs undermines even premium paint systems. Painting over failing render, rotten timber, or cracked masonry temporarily conceals problems while allowing deterioration to accelerate beneath fresh paint. Within 2 to 3 years, substrate failures telegraph through paint films as cracks, blisters, and peeling. Address all structural issues before painting begins.
Ignoring council approval requirements creates legal and financial problems. Painting heritage properties without proper consent can trigger enforcement action requiring complete removal of unauthorised work. This outcome costs far more than obtaining approval initially. Even if enforcement does not occur, non-compliant work complicates future property sales when solicitors identify unpermitted alterations.
Improper timing accelerates paint failure. Painting during wet or cold conditions prevents proper curing regardless of paint quality. Soft films remain vulnerable to marking, moisture damage, and premature wear. Schedule projects during optimal weather windows even if this means waiting several months.
Additional mistakes to avoid:
- Rushing preparation to meet arbitrary deadlines
- Using cement-based repair mortars on lime render or soft masonry
- Applying insufficient primer coats before finish painting
- Selecting colours without researching historic accuracy
Learn from common heritage painting mistakes documented in completed projects. These case studies reveal how small shortcuts create major problems. Understanding failure modes and preventative repair strategies helps you recognise warning signs early when corrections remain straightforward.
Expected outcomes and longevity
Properly executed heritage painting delivers measurable long-term value. Understanding realistic expectations helps you evaluate contractor proposals and project success.
Well-prepared heritage exteriors using appropriate breathable paints typically last 10 to 15 years in Melbourne’s climate. This longevity requires comprehensive surface preparation, heritage-compliant paint selection, and proper application during optimal weather conditions. Shortcuts in any area reduce lifespan significantly.
Measurable success criteria include:
- Crack-free finishes without blistering or peeling after 12 months
- Moisture resistance demonstrated through substrate moisture testing
- Council inspections passed without remedial work requirements
- Authentic colour preservation matching approved samples
- Cost outcomes within projected budgets of $20,000 to $50,000
| Project Scale | Surface Area (sqm) | Expected Duration (Weeks) | Typical Cost Range |
|---|---|---|---|
| Single-storey cottage | 200 to 350 | 3 to 4 | $20,000 to $30,000 |
| Double-storey home | 350 to 550 | 4 to 6 | $30,000 to $45,000 |
| Large Victorian mansion | 550+ | 6 to 10 | $45,000 to $80,000 |
| Multi-building estate | Varies | 10+ | $80,000+ |
Durability depends heavily on comprehensive preparation. Projects cutting corners on repairs or substrate preparation fail prematurely regardless of paint quality. The 60% reduction in delamination risk achieved through proper prep justifies the additional time and cost investment.
Council compliance ensures legal protection and maintains property values. Approved work adds to heritage home value by demonstrating proper stewardship. Non-compliant painting can reduce property values when solicitors identify unpermitted alterations during sales.
Authentic colours preserve heritage character while meeting modern performance standards. Period-appropriate schemes enhance architectural features rather than fighting against them. This authenticity appeals to heritage-conscious buyers and maintains neighbourhood character.
View examples of durable heritage painting project outcomes showing how proper methodology delivers lasting results. These completed projects demonstrate the quality achievable through careful planning and execution. Compare these outcomes against heritage restoration project costing and outcomes to understand market rates and realistic expectations.
Premium heritage painting services in Melbourne
Sol Shine specialises in heritage painting and restoration for Melbourne’s inner east and bayside suburbs. We understand the unique challenges Victorian and Edwardian homes present, combining traditional craftsmanship with modern paint technology.
Our heritage painting services encompass complete project management from council approvals through final inspections. We handle substrate repairs, paint selection, application, and documentation using breathable, council-approved products like Dulux Heritage.

With over 10 years specialising in heritage properties exceeding $20,000, we deliver durable results that respect your home’s character. Our exterior painting services include comprehensive surface preparation, structural repairs, and coordinated trades for complete restoration projects.
View our Melbourne heritage painting projects showcasing completed work in Kew, Camberwell, Brighton, and surrounding suburbs. We schedule projects during optimal weather windows and provide detailed documentation for council compliance and warranty protection.
Frequently asked questions
What paint types work best for heritage homes?
Breathable heritage paints like Dulux Heritage, Porters Heritage Collection, and Haymes Heritage Colours prevent moisture entrapment while maintaining period authenticity. Avoid standard acrylic house paints that seal substrates and cause the 70% of paint failures attributed to trapped moisture.
How do I get council approval efficiently?
Submit comprehensive documentation including paint samples, repair plans, and product specifications 8 to 12 weeks before intended project start. Use council-approved paint lists and engage heritage consultants early to avoid the delays affecting 80% of underprepared projects.
How long do heritage paint products typically last?
Properly applied breathable heritage paints last 10 to 15 years on well-prepared substrates in Melbourne’s climate. Longevity requires thorough surface preparation, appropriate product selection, and application during dry months between October and March.
When should I hire a heritage painting specialist?
Engage specialists for properties with heritage overlays, homes built before 1940, or projects exceeding $20,000. Their experience navigating council processes, selecting appropriate materials, and executing proper preparation techniques prevents the failures common in general residential painting.


