If you own a Victorian or Edwardian home in Melbourne’s inner east or bayside, you’ve likely noticed weatherboards showing their age. Cracked timber, peeling paint, and water damage are common in heritage properties across Kew, Brighton, Hawthorn, and Camberwell. Replacing weatherboards properly preserves your home’s character and market value while meeting council heritage requirements. This guide walks you through every step of heritage weatherboard replacement, from securing permits to selecting authentic materials and executing a restoration that respects your home’s architectural legacy.
Table of Contents
- Preparing For Heritage Weatherboard Replacement
- Step By Step Guide To Replacing Heritage Weatherboards
- Common Mistakes And Troubleshooting During Weatherboard Replacement
- Verifying And Maintaining Your Heritage Weatherboard Restoration
- Solshine Heritage Painting And Restoration Services In Melbourne
- Frequently Asked Questions
Key takeaways
| Point | Details |
|---|---|
| Material selection matters | Choose timber species and profiles matching original Victorian or Edwardian styles to preserve authenticity and council approval. |
| Permits are essential | Heritage overlay properties require council permits before starting weatherboard replacement work. |
| Proper execution prevents failures | Correct removal, fixing methods, and surface preparation ensure weatherboards last decades without premature deterioration. |
| Specialist painters deliver quality | Heritage-experienced painters provide authentic finishes using compliant materials and traditional techniques. |
| Maintenance extends lifespan | Regular inspections and repainting every 5 to 7 years protect your investment and heritage value. |
Preparing for heritage weatherboard replacement
Before touching a single weatherboard, you need to handle legal requirements and plan your approach carefully. Skipping preparation leads to council fines, wasted materials, and compromised results.
Start by checking if your property sits within a heritage overlay zone. Most Victorian and Edwardian homes in suburbs like Malvern, Richmond, and Fitzroy fall under these protections. Complying with heritage permits is essential for approved weatherboard replacement in Melbourne. Contact your local council to confirm requirements and lodge permit applications early, as approvals can take 4 to 8 weeks.
Next, conduct a thorough assessment of your existing weatherboards. Walk around your home and document every damaged section with photos. Look for rot, splitting, warping, and areas where paint has failed completely. This survey determines the scope of replacement needed and helps you budget accurately.
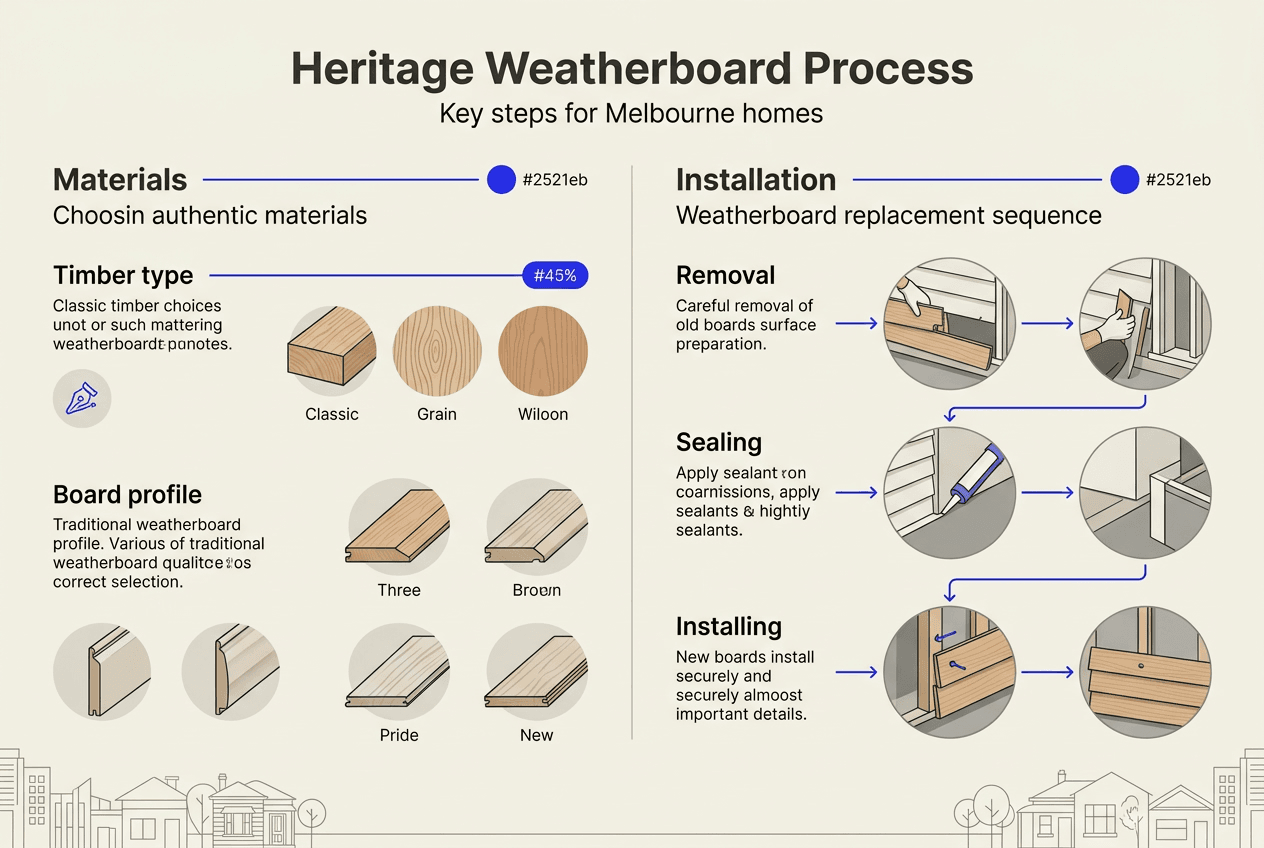
Material selection separates successful heritage restorations from obvious modern patches. Victorian and Edwardian homes typically used Oregon pine, Baltic pine, or Australian hardwoods like spotted gum. Match the original timber species whenever possible for visual consistency. Profile matters equally, whether your home features traditional chamferboard, shiplap, or weatherboard profiles, replicate these exactly. Modern substitutes like fibre cement boards rarely satisfy heritage requirements and look jarringly different. Consider sustainable timber options that meet heritage standards while reducing environmental impact.
Pro Tip: Order 10% extra timber beyond your calculated needs to account for cutting waste, hidden damage discovered during removal, and future repairs.
Site preparation protects your property and ensures worker safety. Clear garden beds, outdoor furniture, and decorative elements from around the house perimeter. Arrange scaffolding or elevated work platforms for safe access to upper levels. Set up designated zones for storing new materials and disposing of removed weatherboards. Notify neighbours about the project timeline and potential noise.
Create a material checklist covering everything you’ll need:
- Replacement weatherboards in correct species and profile
- Stainless steel or galvanised fixings appropriate for timber type
- Building wrap or sarking for weather protection
- Primer and topcoat paints suitable for heritage timber
- Sealants and caulking for joints and penetrations
- Safety equipment including dust masks and eye protection
Review heritage repair guides to understand best practices specific to Melbourne’s climate and heritage requirements. Research heritage restoration coatings that provide durable protection while maintaining authentic appearance.
The following table summarises key preparation tasks and typical timeframes:
| Task | Typical Duration | Critical Considerations |
|---|---|---|
| Heritage permit application | 4 to 8 weeks | Start earliest, delays are common |
| Material sourcing and delivery | 2 to 4 weeks | Specialty timber requires advance ordering |
| Site preparation and scaffolding | 2 to 3 days | Weather dependent, ensure safe access |
| Damage assessment and planning | 1 to 2 days | Document thoroughly with photos |
Step by step guide to replacing heritage weatherboards
With preparation complete, you’re ready to tackle the actual replacement work. Following proper sequence and techniques prevents structural damage and ensures a professional finish.
Begin removal by working from top to bottom on each wall section. This approach prevents water entering exposed areas if rain interrupts work. Use a flat pry bar to gently lever damaged weatherboards away from fixing points. Work slowly to avoid damaging adjacent boards you’re keeping or the underlying structure. Remove all old nails and fixings completely, checking the exposed frame for rot or damage requiring repair before installing new boards.
Inspect the building wrap or sarking behind removed weatherboards. Replace any torn or deteriorated sections to maintain weather protection. This layer is critical for preventing moisture penetration into wall cavities. Check that flashing around windows and doors remains intact and properly sealed.
Install new weatherboards starting from the bottom and working upward. This overlapping sequence sheds water correctly and matches traditional construction methods. Position each board carefully to maintain consistent reveal, the exposed face width between boards. Victorian homes typically show 125mm to 150mm reveal depending on original construction.
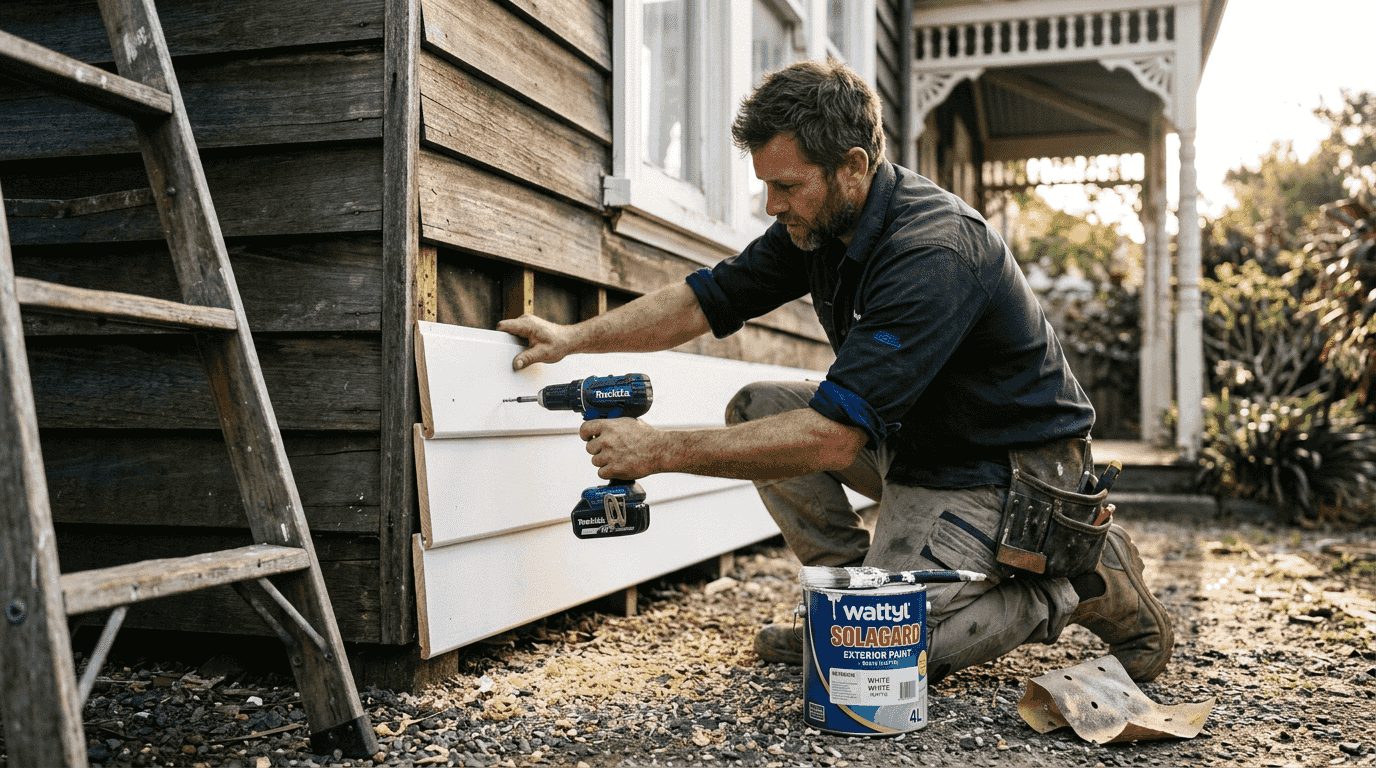
Fix weatherboards using appropriate fasteners for your timber species. Hardwoods require pre-drilling to prevent splitting, while softwoods like pine can often be nailed directly. Use two fixings per board at each stud location, positioned to avoid splitting the timber. Stainless steel or hot-dipped galvanised nails prevent rust stains that ruin paint finishes. Using materials compliant with heritage standards ensures restoration work is accepted by authorities and looks authentic.
Pro Tip: Leave a 3mm to 5mm expansion gap between board ends to accommodate timber movement with seasonal moisture changes, preventing buckling.
Follow this installation sequence for best results:
- Install bottom board first, checking level across entire length
- Work upward, maintaining consistent overlap and reveal
- Cut boards to length allowing for expansion gaps at corners
- Pre-drill fixing holes in hardwoods to prevent splitting
- Countersink nail heads slightly below surface for filling
- Check plumb and level regularly to maintain straight lines
After installation, seal all joints, corners, and penetrations with appropriate caulking. Use flexible sealants that accommodate timber movement without cracking. Pay special attention to junctions with windows, doors, and trim where water commonly penetrates.
Surface preparation determines paint longevity. Fill nail holes and minor imperfections with exterior-grade wood filler. Sand filled areas smooth once dry. Clean all surfaces thoroughly, removing dust, cobwebs, and any mill glaze on new timber that prevents paint adhesion.
Apply primer within 48 hours of installation to protect exposed timber from moisture and UV damage. Choose primers formulated for your timber species, as different woods require different products. Allow proper drying time between primer and topcoat applications.
Engage specialist heritage painters experienced in traditional finishes for the final coatings. They understand heritage-compliant restoration techniques and use appropriate application methods that deliver authentic appearance and maximum durability. Professional painters also guarantee their work, providing peace of mind for your significant investment.
Common mistakes and troubleshooting during weatherboard replacement
Even experienced renovators encounter problems during weatherboard replacement. Recognising potential issues early saves time, money, and frustration.
Using unsuitable timber or incorrect profiles creates immediate visual problems and long-term structural issues. Modern treated pine looks different from traditional Oregon pine and weathers differently. Profile mismatches are glaringly obvious, especially on street-facing elevations where neighbours and council inspectors notice. Always verify timber species and profile dimensions against original boards before purchasing materials.
Poor surface preparation and inadequate painting lead to premature failure. Incorrect fixing and inferior materials can lead to peeling paint and premature weatherboard failure. Skipping primer, applying paint in unsuitable weather conditions, or using incompatible products causes flaking within months. Melbourne’s variable climate demands quality preparation and appropriate coating systems.
Ignoring council heritage requirements risks enforcement action. Councils take heritage protection seriously and conduct random inspections. Unauthorised work or non-compliant materials result in stop-work orders, fines up to $10,000, and forced removal of completed work. Always secure permits before starting and follow approved plans exactly.
Moisture management failures cause the most expensive problems. Inadequate flashing, missing building wrap, or poorly sealed joints allow water into wall cavities. This moisture rots framing timber, damages insulation, and promotes mould growth inside your home. Signs include:
- Paint bubbling or peeling within 12 months of application
- Soft or spongy areas when pressing weatherboards
- Visible water stains or discolouration on interior walls
- Musty odours inside rooms adjacent to replaced sections
Address moisture issues immediately by identifying entry points and improving drainage and sealing. Sometimes this requires removing recently installed boards to repair underlying damage.
Incorrect fixing methods damage weatherboards and compromise structural integrity. Over-driven nails crush timber fibres and create weak points where boards crack. Insufficient fixings allow boards to cup and warp. Under-driven nails leave heads exposed, causing rust stains and paint failure. Each board requires proper fixing at every stud location using correctly sized fasteners.
One heritage restoration specialist notes:
The biggest mistake homeowners make is treating weatherboard replacement like a simple carpentry job. Heritage homes require specific techniques, materials, and finishes that respect original construction methods while meeting modern performance standards.
Troubleshooting common installation problems:
- Boards won’t align properly: Check that underlying frame is straight and repair any sagging or damaged studs before proceeding
- Splitting occurs during fixing: Pre-drill holes, especially near board ends and in hardwoods
- Gaps appear between boards: Ensure consistent overlap and check that boards aren’t twisted or warped before fixing
- Paint fails quickly: Review surface preparation, primer selection, and application conditions
Avoid exterior painting mistakes by following manufacturer specifications for all products and allowing proper drying times between coats. Use premium paint materials formulated for Melbourne’s climate and heritage timber applications.
Verifying and maintaining your heritage weatherboard restoration
Completing installation is just the beginning. Proper verification and ongoing maintenance protect your investment and preserve heritage value for decades.
Perform detailed visual inspections immediately after work completion. Walk around your entire home examining every replaced section. Check that all boards sit flat against the building with consistent reveal and no gaps. Verify that fixings are properly countersunk and filled. Inspect paint coverage, ensuring complete coating with no missed spots, runs, or thin areas. Examine all joints, corners, and penetrations for proper sealing.
Pay special attention to these critical verification points:
- Weatherboards overlap correctly from bottom to top
- All nail holes are filled and sanded smooth
- Primer covers all exposed timber including board ends
- Topcoat provides uniform colour and sheen
- Sealant fills all gaps at windows, doors, and corners
- No visible water traps or areas where moisture could accumulate
Test weatherproofing by inspecting during or immediately after rain. Look for water penetration, staining, or areas where water pools rather than shedding properly. Address any issues immediately before they cause damage.
Establish a maintenance schedule to extend weatherboard lifespan. Regular inspections and timely maintenance extend weatherboard lifespan and preserve heritage value. Annual inspections identify minor problems before they become expensive repairs. Check for paint deterioration, loose boards, damaged sealant, and signs of moisture penetration.
Pro Tip: Schedule inspections in late autumn after summer UV exposure and before winter rains arrive, giving you time to complete minor repairs in optimal conditions.
Create a maintenance timeline:
| Frequency | Tasks | Purpose |
|---|---|---|
| Annually | Visual inspection, clean surfaces, check sealants | Early problem detection |
| Every 2 to 3 years | Touch up paint, repair minor damage | Prevent deterioration |
| Every 5 to 7 years | Full repaint, replace damaged boards | Maintain protection and appearance |
| Every 10 to 15 years | Comprehensive assessment and restoration | Address accumulated wear |
Cleaning weatherboards removes dirt, mould, and pollutants that degrade paint and timber. Use gentle methods appropriate for heritage surfaces. Soft brush or low-pressure washing with mild detergent works well. Avoid high-pressure washing that damages timber fibres and forces water into joints.
Repainting protects timber from weather damage and maintains authentic appearance. Use heritage-friendly coatings recommended by conservation specialists. Modern acrylic paints offer excellent durability while remaining breathable, essential for old timber that needs to release moisture. Explore heritage restoration coatings specifically formulated for Melbourne’s Victorian and Edwardian homes.
Document all work with detailed photos and records. Photograph each elevation before, during, and after replacement. Keep receipts for materials, permits, and contractor services. Record paint colours, product specifications, and timber details. This documentation helps with insurance claims, future heritage approvals, and property sales by demonstrating proper maintenance and compliance.
Consider engaging professional heritage painting services for major repainting cycles. Specialists understand appropriate colour schemes, surface preparation requirements, and application techniques that deliver authentic results. They also stay current with heritage regulations and approved materials, ensuring your maintenance work meets council standards.
Monitor for these warning signs requiring immediate attention:
- Paint cracking, bubbling, or peeling
- Soft spots indicating rot
- Boards pulling away from fixings
- Water stains on interior walls
- Gaps opening at joints or corners
- Insect damage or bore holes
Address problems promptly to prevent minor issues escalating into major structural repairs. Early intervention saves money and preserves more original fabric, important for heritage value and council compliance.
Solshine heritage painting and restoration services in melbourne
Replacing heritage weatherboards demands expertise, patience, and respect for traditional craftsmanship. Solshine specialises in heritage weatherboard restoration and painting across Melbourne’s inner east and bayside suburbs. Our experienced team understands Victorian and Edwardian construction methods, ensuring every project meets heritage standards while delivering lasting durability.

We handle complete heritage restoration projects from weatherboard replacement through to final painting, all under one roof. Our premium heritage painting services use materials specifically selected for Melbourne’s climate and heritage requirements. We work directly with councils to secure necessary approvals and ensure compliance throughout your project. Explore our exterior painting archives to see completed heritage restorations in suburbs like Kew, Brighton, Hawthorn, and Camberwell. Visit Solshine to request a consultation and protect your home’s heritage value and beauty.
Frequently asked questions
How long does heritage weatherboard replacement take?
Replacement duration varies by house size and damage extent but typically takes 2 to 4 weeks for a standard Victorian home. Single-storey properties with limited damage may be completed in 10 to 14 days, while double-storey homes with extensive replacement needs can extend to 6 weeks. Weather delays, permit processing, and material delivery times affect the schedule. Your contractor should provide a detailed timeline during quoting.
Can i replace weatherboards myself or should i hire a specialist?
DIY weatherboard replacement is risky due to heritage requirements and technical expertise needed. Incorrect installation voids council permits and causes expensive failures requiring complete rework. Heritage properties demand specific timber species, profiles, and fixing methods that inexperienced renovators often get wrong. Hiring specialist painters ensures compliance, quality finish, and longevity. Specialists also carry appropriate insurance protecting you from liability if problems occur.
How do i choose the right timber for my heritage weatherboards?
Choose timber matching original species and profile for visual accuracy and council approval. Victorian homes typically used Oregon pine, Baltic pine, or Australian hardwoods like spotted gum. Examine existing boards to identify species, grain pattern, and profile dimensions. Source replacement timber from specialty suppliers who stock heritage-appropriate materials. Sustainable timber options are available that meet heritage standards and environmental considerations. Consult heritage advisors or experienced contractors if you’re unsure about appropriate selections.
What maintenance is required after replacing heritage weatherboards?
Inspect annually for damage, peeling paint, and moisture issues to catch problems early. Clean surfaces gently each year removing dirt and mould that degrade finishes. Regular inspections and repainting every 5 to 7 years help protect heritage weatherboards. Use heritage-appropriate materials for all maintenance work to maintain authenticity and council compliance. Address any damage immediately to prevent minor issues becoming expensive structural repairs.


