Freshly painted walls can instantly revive your Melbourne home, but achieving a flawless finish is rarely as simple as grabbing a brush and hoping for the best. Precise preparation and expert techniques are essential if you want both stunning results and long-lasting value. This guide reveals a professional workflow for interior painting supported by trusted Australian and international standards, offering practical steps that protect surfaces, enhance durability and elevate your home’s appeal for years to come.
Table of Contents
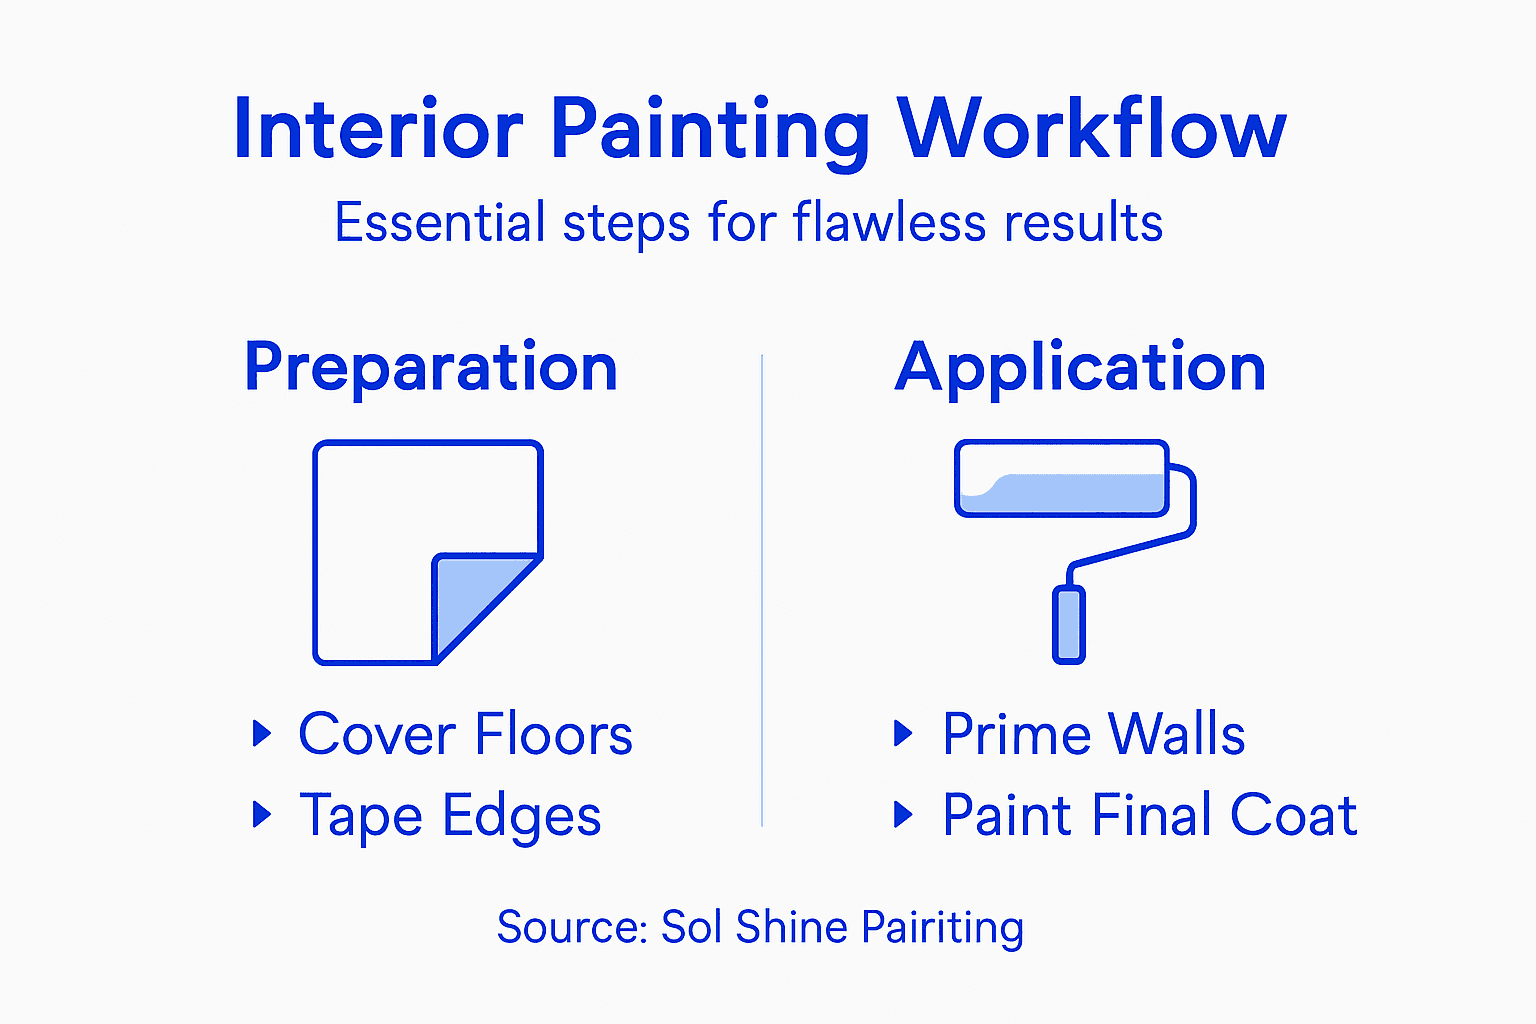
- Step 1: Prepare Work Area And Surfaces
- Step 2: Select Premium Paints And Materials
- Step 3: Apply Primer And Base Coats
- Step 4: Execute Precise Painting Techniques
- Step 5: Validate Finish And Tidy Up
Quick Summary
| Key Point | Explanation |
|---|---|
| 1. Prepare Your Workspace Thoroughly | Clear the area and protect surfaces to set up for a professional painting finish. Use drop cloths, painter’s tape, and remove electrical covers. |
| 2. Choose Quality Paint and Materials | Select high-quality paints that ensure durability and the best aesthetic appeal for your interior walls. Consider finish type and room requirements. |
| 3. Apply Primer Correctly | Use the right primer for your wall material to enhance adhesion and create a uniform base for the topcoat. Allow for proper drying time. |
| 4. Use Precise Painting Techniques | Apply paint with controlled strokes and appropriate tools to achieve an even and professional result. Work methodically and maintain a wet edge. |
| 5. Final Inspection and Cleanup | Conduct a thorough inspection for imperfections and clean the area meticulously to showcase your finished work. Allow sufficient drying time before moving furniture back. |
Step 1: Prepare Work Area and Surfaces
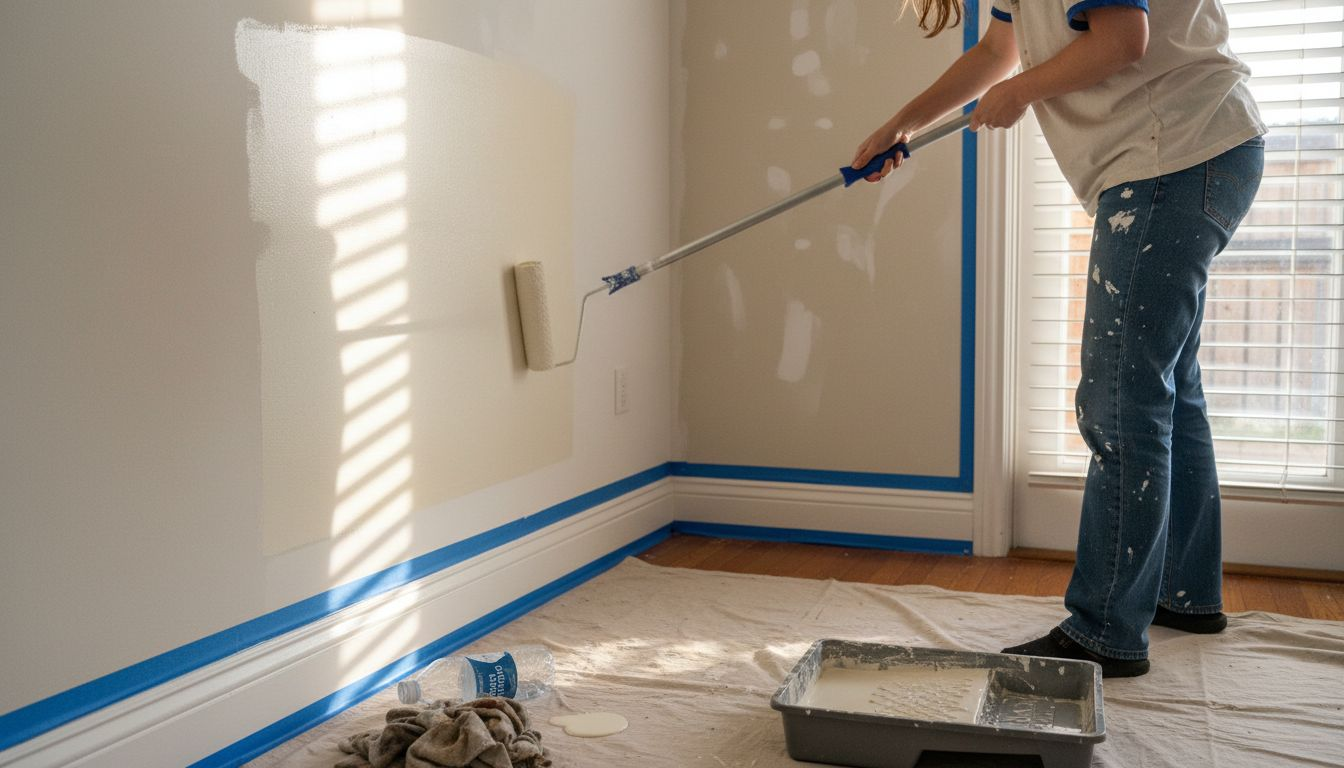
Preparing your interior painting area is crucial for achieving a professional and clean finish. This stage sets the foundation for a smooth, efficient painting project that protects your home and ensures top-quality results.
Begin by clearing the room as much as possible. Remove furniture or move it to the centre of the room and cover completely with drop cloths. Protect your workspace by taking these critical preparatory steps:
- Remove electrical outlet and light switch covers
- Cover flooring with canvas or plastic drop cloths
- Use painter’s tape to protect trim, skirting boards, and edges
- Relocate valuable or delicate items from the painting area
Next, inspect your walls carefully. You’ll want to clean surfaces thoroughly and repair any imperfections before painting. Wash walls with a mild detergent solution to remove dust, grease, and grime. For areas with significant damage, use spackling compound to fill holes and sand smooth once dried.
Proper surface preparation is 70% of a perfect paint job. Skimp here, and you’ll see every flaw in the final result.
Pay special attention to lead-based paint risks in older homes. Follow safe renovation guidelines if your property was built before 1978, which might require professional assessment and specialised handling.
Expert tip: Invest in quality drop cloths and painter’s tape – cheap materials can lead to paint bleed and accidental damage that costs far more to repair than the few extra dollars spent on professional-grade protective gear.
Step 2: Select Premium Paints and Materials
Choosing the right paint and materials is fundamental to achieving a professional interior painting result that looks stunning and stands the test of time. Your selection will directly impact the aesthetic appeal, durability, and long-term performance of your painted surfaces.
Start by understanding the specific paint standards that determine quality. When selecting premium interior paints, consider these critical factors:
- Finish type: Matte, eggshell, satin, semi-gloss, or gloss
- Colour consistency and potential coverage requirements
- Durability and washability for different room types
- Environmental considerations like low-VOC options
- Substrate compatibility for different wall surfaces
Carefully evaluate different paint categories. Architectural coatings are specifically designed for interior spaces, offering superior finish quality and performance. Professional painters typically recommend high-quality acrylic latex paints for most interior walls due to their excellent coverage and smooth application.
Not all paints are created equal. Investing in premium materials ensures a more professional, longer-lasting finish.
Consider factors like room humidity, sunlight exposure, and intended usage when making your selection. Bathrooms and kitchens require moisture-resistant paints, while living areas might benefit from more versatile, easily cleanable finishes.
Here’s a quick reference comparing common interior paint finishes and their ideal use:
| Paint Finish | Appearance | Recommended Room Types | Durability/Washability |
|---|---|---|---|
| Matte | Non-reflective | Bedrooms, ceilings | Low, touch-up friendly |
| Eggshell | Slight sheen | Living rooms, dining rooms | Moderate, easily cleaned |
| Satin | Soft lustre | Hallways, children’s rooms | Good, washable surface |
| Semi-gloss | Noticeable shine | Kitchens, bathrooms | High, very washable |
| Gloss | Highly reflective | Doors, trim, skirting boards | Excellent, easy to clean |
Expert tip: Always purchase slightly more paint than your calculated requirements to account for multiple coats and potential touch-ups, preventing colour inconsistencies from mixing multiple paint batches.
Step 3: Apply Primer and Base Coats
Applying primer and base coats is a critical stage that transforms your walls from raw surfaces to a professional-quality painted finish. This foundational work determines the overall appearance and longevity of your interior painting project.
Start by understanding systematic primer application techniques that ensure optimal adhesion and surface preparation. Your primer selection and application method are crucial for achieving a flawless final result. Consider these essential steps:
- Clean surfaces thoroughly before priming
- Select appropriate primer for your specific wall material
- Apply primer evenly using roller or brush
- Allow proper drying time between coats
- Check for uniform coverage across entire surface
Painting substrate preparation requires careful attention to different wall types. Drywall needs a different primer approach compared to wooden surfaces or previously painted areas. Professional painters recommend using a roller with a medium nap for most interior walls to ensure smooth and consistent primer application.
Primer is your secret weapon. A quality base coat creates a uniform surface that dramatically improves your topcoat’s appearance and durability.
Apply your base coat using long, consistent strokes to prevent visible lines or uneven patches. Work in small sections, maintaining a wet edge to blend each section seamlessly. Allow sufficient drying time between primer and base coat applications to ensure optimal adhesion and a professional finish.
Expert tip: Invest in high-quality painter’s tape and carefully seal edges before priming to achieve crisp, clean lines and prevent unwanted paint bleed.
Step 4: Execute Precise Painting Techniques
Mastering precise painting techniques transforms an amateur paint job into a professional-looking finish. Your approach to application will determine the overall quality and visual appeal of your interior walls.
Professional painting methods require strategic tool selection and methodical application. Professional painters recommend these critical techniques:
- Use angled brushes for precise edge work
- Maintain consistent pressure while painting
- Work in manageable sections to control paint flow
- Blend strokes seamlessly to prevent visible lines
- Apply thin, even coats to avoid drips and streaks
Painter’s professional techniques emphasise the importance of tool selection and stroke control. An angled brush allows you to cut in edges with precision, while a roller helps cover larger surface areas smoothly. Start by painting corners and edges with your brush, then use a roller to fill in wall sections.
Technique matters more than talent. Consistent, controlled movements create a flawless finish.
When rolling, use long, overlapping strokes in a ‘W’ or ‘M’ pattern to ensure even coverage. Always maintain a wet edge to prevent visible seams or texture differences. Work systematically from top to bottom, allowing each section to blend naturally.
Expert tip: Invest in high-quality, synthetic bristle brushes for water-based paints and natural bristle brushes for oil-based paints to achieve the most professional application results.
Step 5: Validate Finish and Tidy Up
The final stage of your interior painting project is about ensuring a flawless finish and returning your space to pristine condition. This critical phase transforms your hard work into a professional-looking result that you’ll be proud to show off.
Painting finish validation requires a systematic and careful approach. Conduct a thorough visual inspection using natural and artificial lighting to identify any imperfections. Check your painted surfaces from multiple angles, looking for:
- Uniform colour coverage
- Absence of drips or streaks
- Smooth, consistent texture
- Clean, crisp edges
- No missed spots or thin areas
Safe painting cleanup techniques are essential for maintaining a professional workspace. Remove painter’s tape carefully at a 45-degree angle to prevent paint peeling, and systematically clean all your tools and work areas. Pay special attention to protecting freshly painted surfaces during the cleanup process.
A meticulous finish is the hallmark of a true professional. Take your time and don’t rush the final inspection.
Carefully remove drop cloths, plastic coverings, and protective materials. Vacuum or sweep the area to remove any paint debris, and wipe down surfaces to ensure a clean, polished result. Allow sufficient drying time before moving furniture back or hanging artwork.
Expert tip: Wait at least 24 hours after painting before touching up any minor imperfections to ensure the paint has fully settled and you can accurately assess the true finish.
Below is a summary of essential painting stages and their professional impact:
| Stage | Primary Goal | Time Investment | Impact on Final Quality |
|---|---|---|---|
| Area Preparation | Protect surfaces, ensure cleanliness | 1-2 hours typical | Very high |
| Paint & Material Selection | Choose best products for application | 30-60 minutes | High |
| Priming & Base Coating | Secure adhesion, create uniform base | 1-2 hours | Crucial |
| Precise Painting | Achieve flawless coverage and edging | 2-3 hours | Essential |
| Finishing & Cleanup | Inspect and tidy for finished look | 1 hour | High |
Achieve Flawless Interior Painting Results with Expert Help
Mastering the interior painting workflow demands careful surface preparation, premium materials, and precise application techniques to avoid common pitfalls like uneven coverage or paint bleed. If you find yourself overwhelmed by these critical steps or seeking to guarantee a professional finish that lasts, Sol Shine is here to transform your vision into reality. Our team in Melbourne specialises in high-quality interior painting using premium paints and advanced methods tailored to your home’s unique needs.

Don’t leave your walls to chance. Trust Sol Shine to handle every stage meticulously from preparation to the final inspection. Visit our interior painting page to explore expert services that deliver beautiful, durable results backed by satisfaction guarantees. Enhance your home’s appearance and value today by contacting us at Sol Shine for a consultation and precise, worry-free painting solutions.
Frequently Asked Questions
How can I prepare my work area for painting?
To prepare your work area for painting, start by removing as much furniture as possible and covering the remaining items with drop cloths. Clear the floors, remove electrical outlet covers, and use painter’s tape to protect trim and edges to prevent paint splatter.
What type of paint should I select for interior walls?
Select premium interior paints that suit your specific room needs, considering factors like finish type, durability, and environmental impact. For most interior walls, high-quality acrylic latex paint provides excellent coverage and smooth application.
Why is it important to apply primer before painting?
Applying primer before painting is crucial for optimal adhesion and a smooth finish. A quality primer creates a uniform base, reducing the chances of imperfections showing through the topcoat, resulting in a more professional appearance.
What techniques should I use for precise painting?
To achieve precise painting, use angled brushes for edges and maintain consistent pressure during application. Work in manageable sections and apply thin, even coats to avoid drips or streaks, ensuring that you blend strokes seamlessly for a flawless finish.
How do I validate the finish after painting?
To validate your finish after painting, conduct a thorough inspection under natural and artificial light for uniform colour coverage and the absence of flaws. Take your time to identify any imperfections, as a meticulous finish is key to achieving professional results.
What should I do during cleanup after painting?
During cleanup, carefully remove painter’s tape at a 45-degree angle to avoid peeling paint, and clean your tools to maintain them for future use. Ensure you tidy the painted area by removing drop cloths and vacuuming any debris for a polished result.


